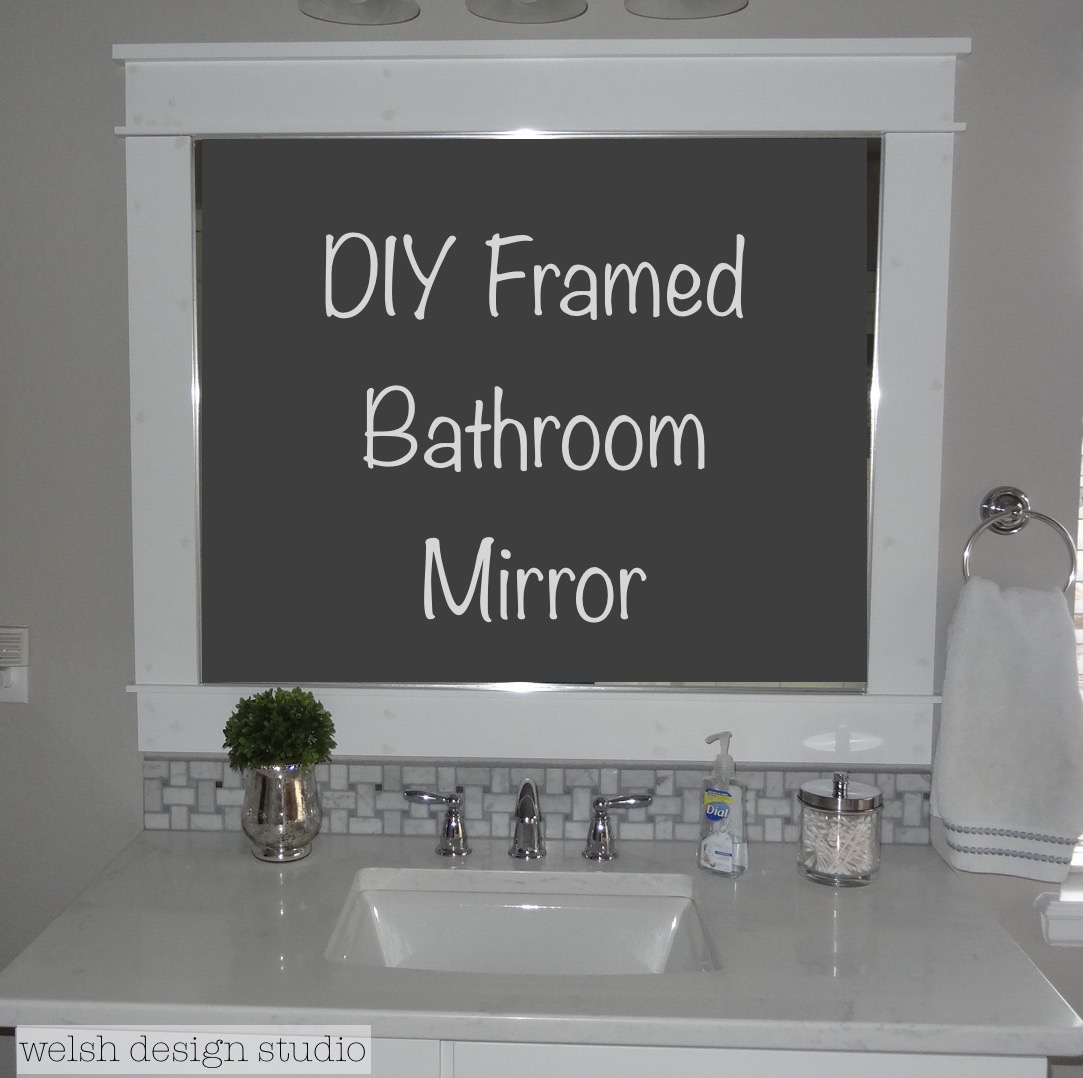
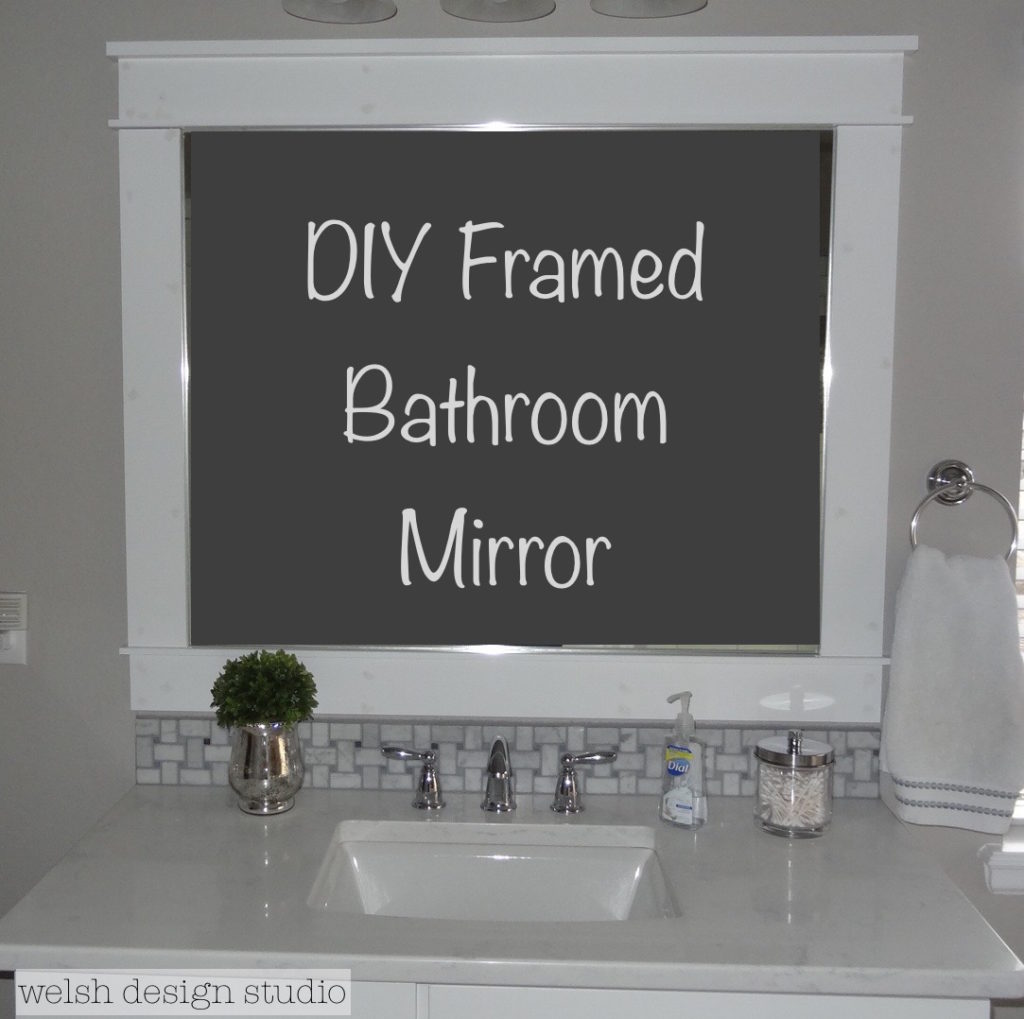
We just finished a project that was desperately needed in our new home. We made some DIY framed bathroom mirrors for our primary bath. I finally have a mirror in the bathroom, after 3 long months without one!
Why Didn’t We Have a Mirror in Our Bathroom?
Good question! When we were working with the builder to design our new home, we had a discussion about the primary bathroom mirrors. I didn’t want the standard wall mirrors over our vanities, so she suggested we leave them out, and then buy something we liked better after we moved in. Great idea!
However, once I started searching for mirrors, I found it increasingly difficult to find something that was the right size, right style, and right price. Fast forward three months, and still no mirrors in the bathroom! Grrrrr! I don’t know about you, but using the reflection of yourself in the shower glass is just not very effective for doing your hair! I did use a small mirror for makeup, so all hope was not lost. But, a girl needs a mirror in her bathroom, right?
So, I took the bull by the horns and started designing! I found several examples of DIY framed bathroom mirrors online that I liked, but the vast majority involved putting the frame over an existing mirror. “Lucky” for us(?), we had no existing mirrors, so that actually made things easier! I gravitated toward a white framed mirror, since we have white cabinets/shower/etc., and I love me a good craftsman style.
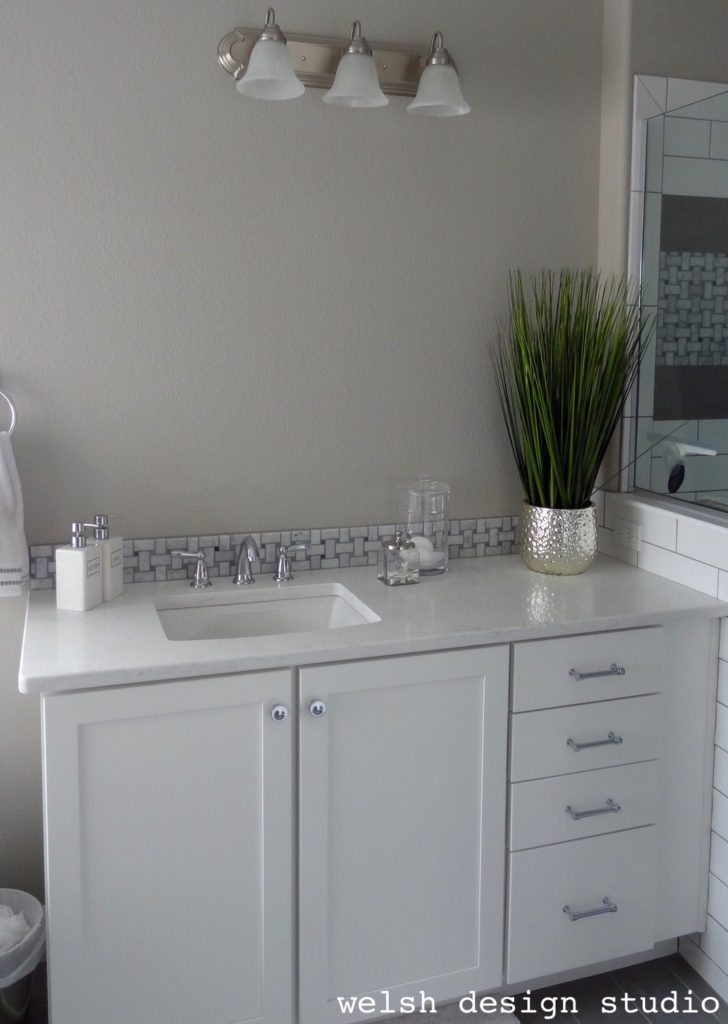
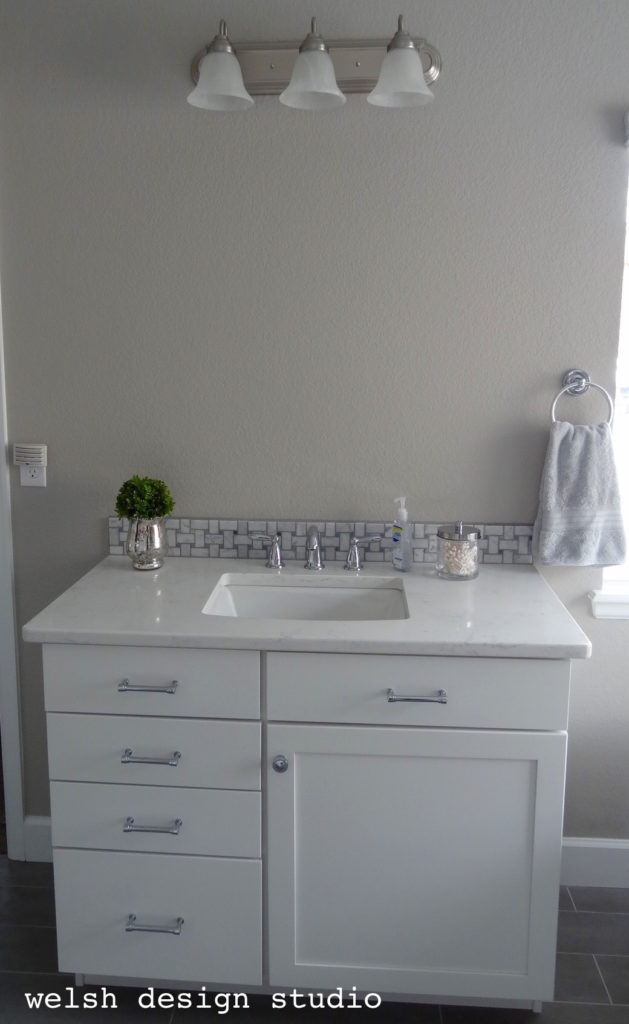
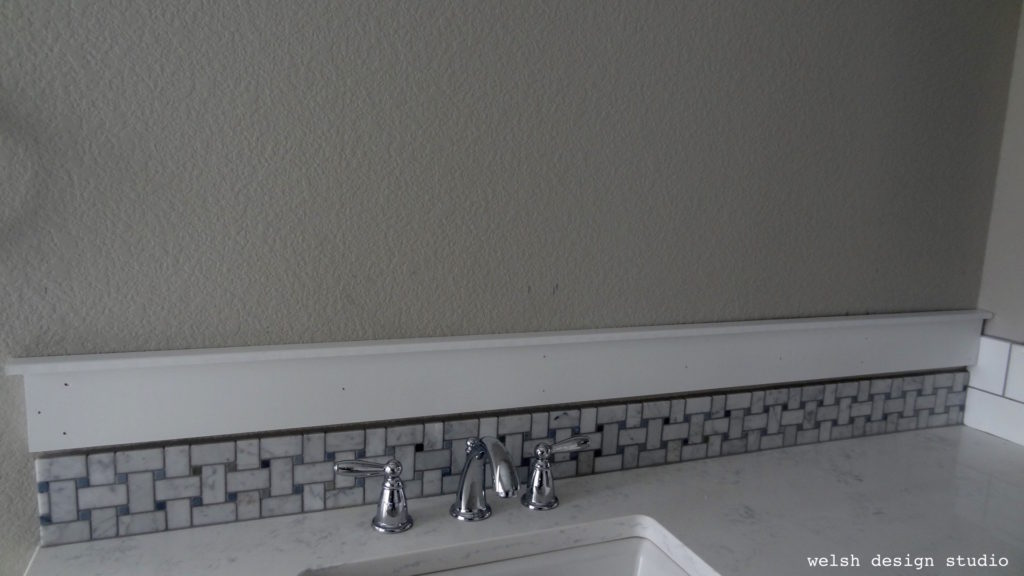
Before
Here is what our vanities looked like before we started.
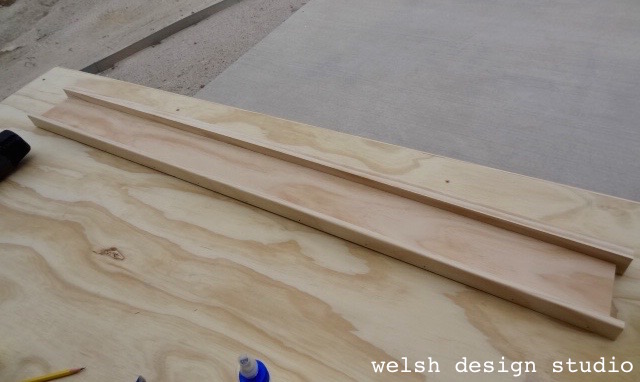
Making the Mirrors
We found a local business who would make custom mirrors for us (rectangular pieces of glass). While waiting a few days for the glass to be made, we cut our frame pieces, assembled the tops and bottoms, and then painted them.
We went to pick up the glass on a Friday, and as we were bringing out the mirrors to the car, one of us didn’t so gently put the mirror down on the sidewalk, and we heard a sound that you never want to hear glass make. Let’s just say that there was a little marital tension in the car on the way home.
We thought maybe we’d still be able to use the mirror, since we didn’t immediately see any cracks, but alas, the mirror had a rather nasty chip on one edge, and it just wasn’t going to work. Did I mention it was the mirror that was supposed to go over MY vanity?!?!?!? Ugggh! I called and ordered a new one on Monday…what’s one more week without a mirror at this point?
In the meantime, we installed my husband’s mirror, and the bottom piece for my mirror. We installed the bottom frame piece first so we could use it as a support for the mirror, and then applied adhesive used specifically for mirrors to adhere the glass mirror to the wall. We taped it to the wall, and let it dry overnight.
Next, we installed the two side pieces, and finally the top rails. Oh, and it’s a good idea to use a little wood glue (in addition to nails) on each piece to give it a little extra stick.

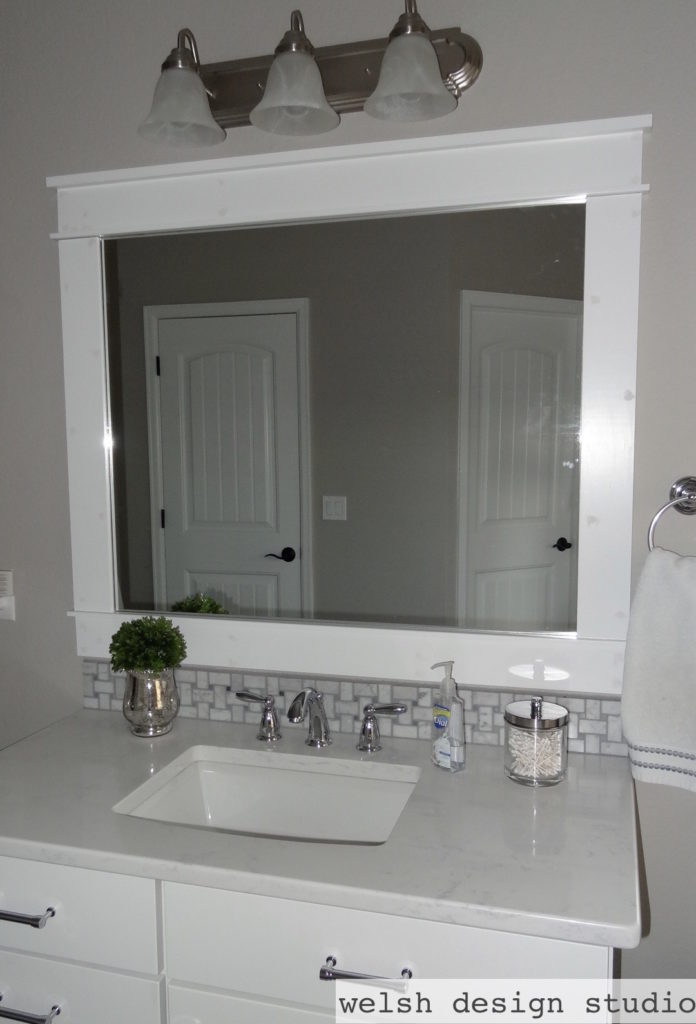
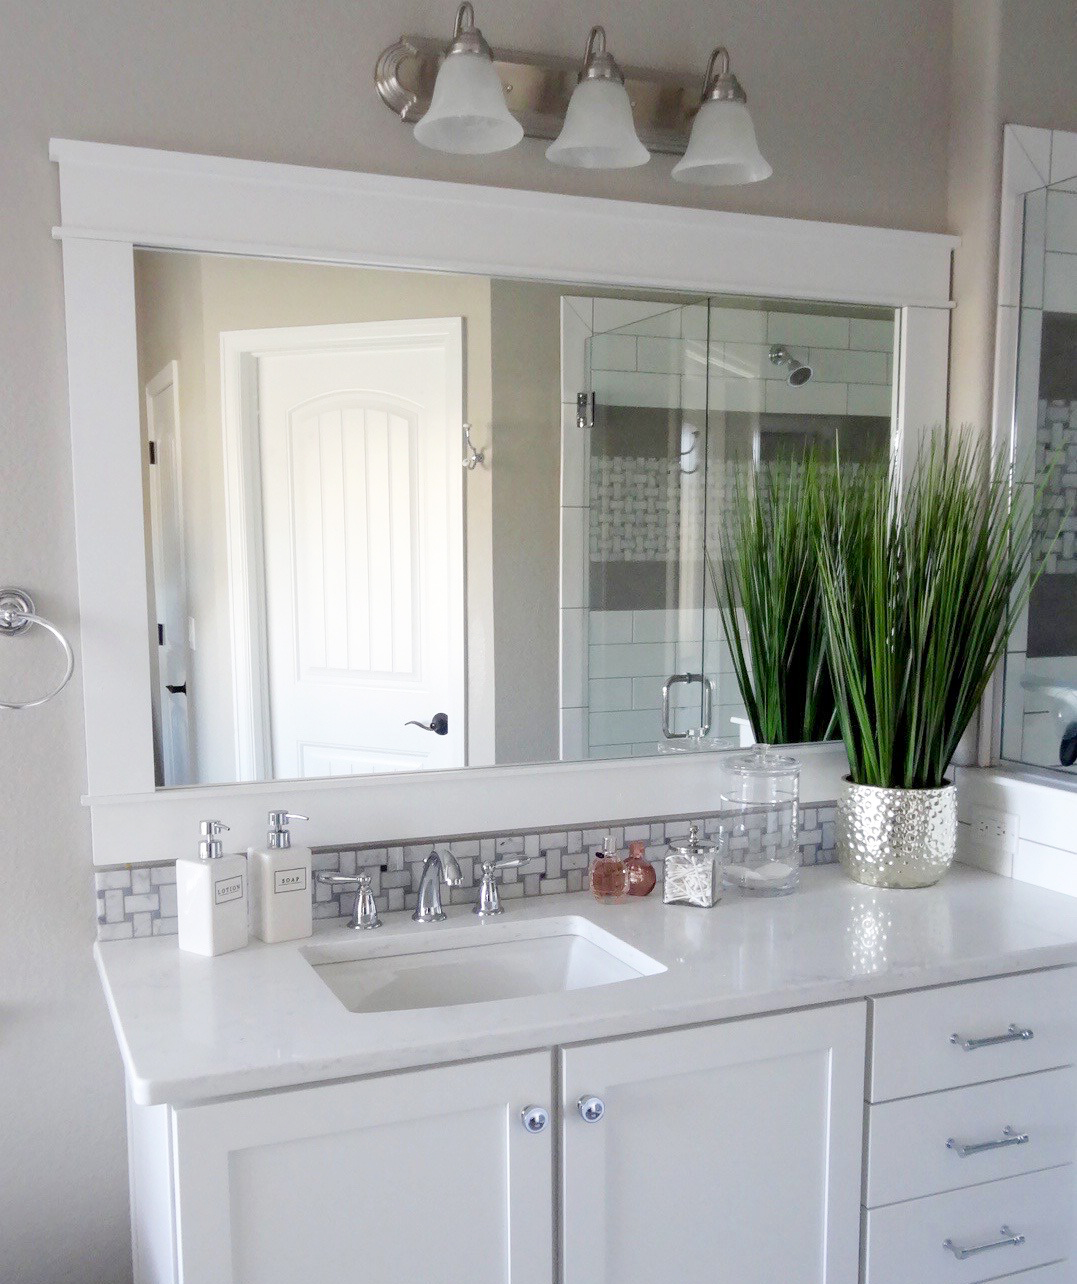
After
I don’t want to brag, but I thought the end result was beautiful! Don’t worry, we finally installed my mirror about a week later using the same process. Just need to do some final touches (caulking, touch up paint) on both of them, and then they will be all finished. I finally have a mirror over my sink…EEEEE!!! Happy dance!
See this project and get inspired by other great posts by visiting Thrifty Decor Chick.


Very pretty, but i don’t think you helped us understand how you built the frame and attached it around the mirror. Guess this site is simply to show a before and after?