Sometimes new projects just kind of sneak their way onto our to-do list. I’m not really sure how it happens, but it happens…rather frequently for us. In this case, I was searching online for a new outdoor dining table, and found a few that I liked, but they were just super expensive. I seem to have expensive taste when it comes to outdoor furniture! And, the outdoor dining tables with a reasonable price tag were just not the look that I wanted.
So, my hubby and I started talking about making our own farmhouse-style outdoor dining table, and the more we talked about it, the more we decided to just do it.
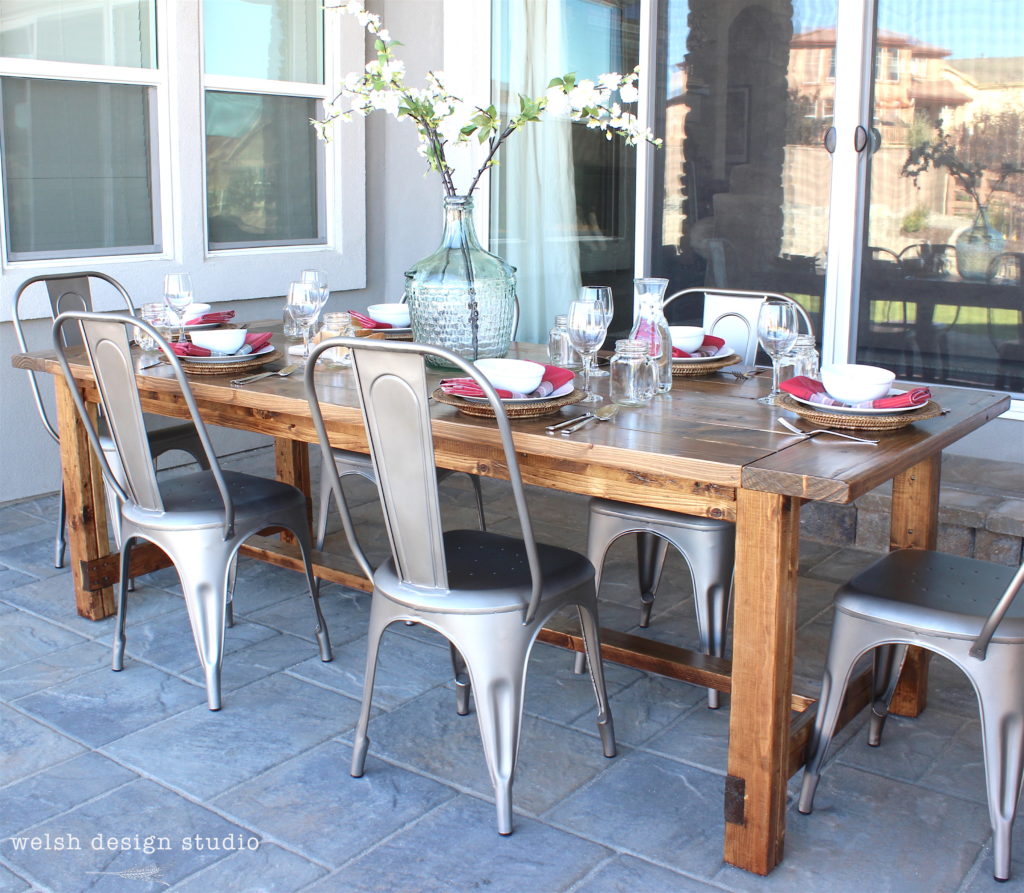
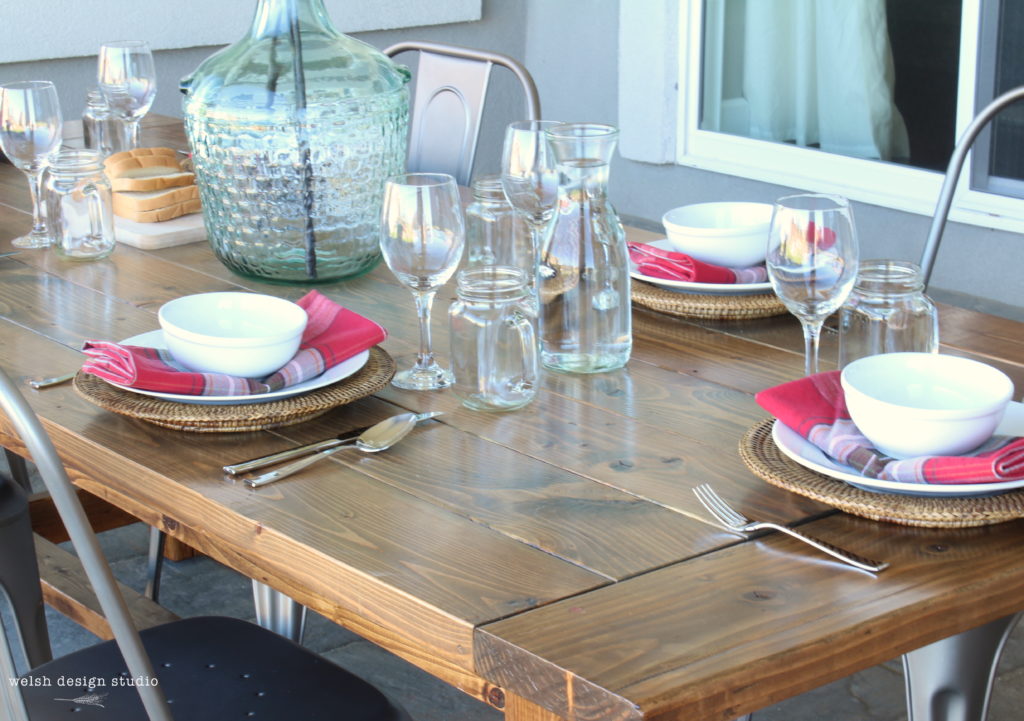
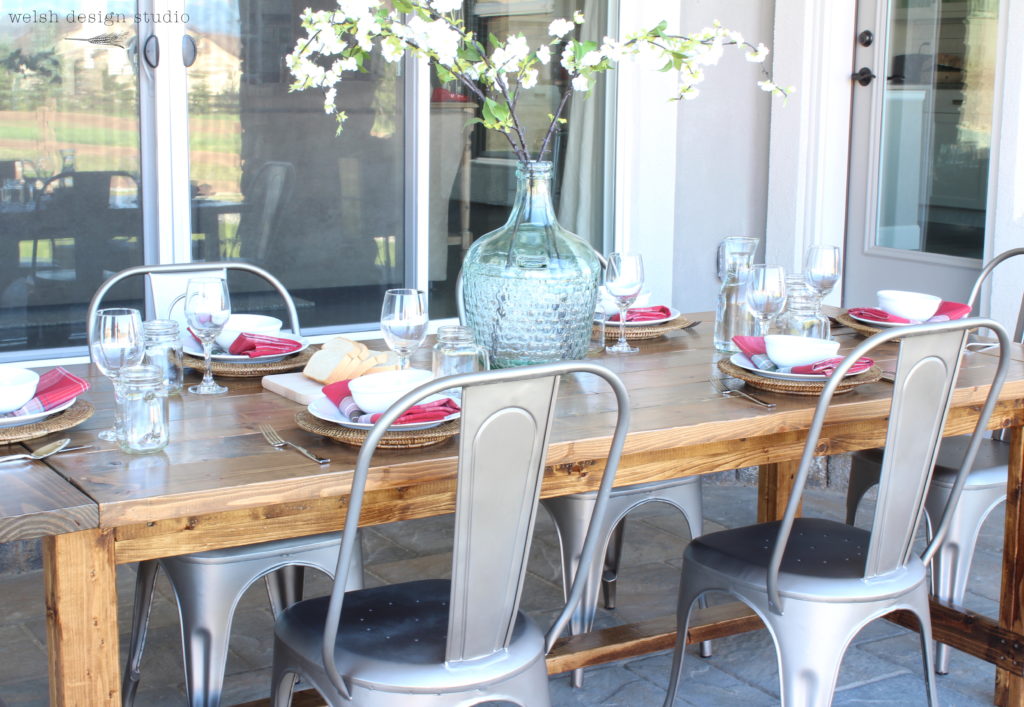
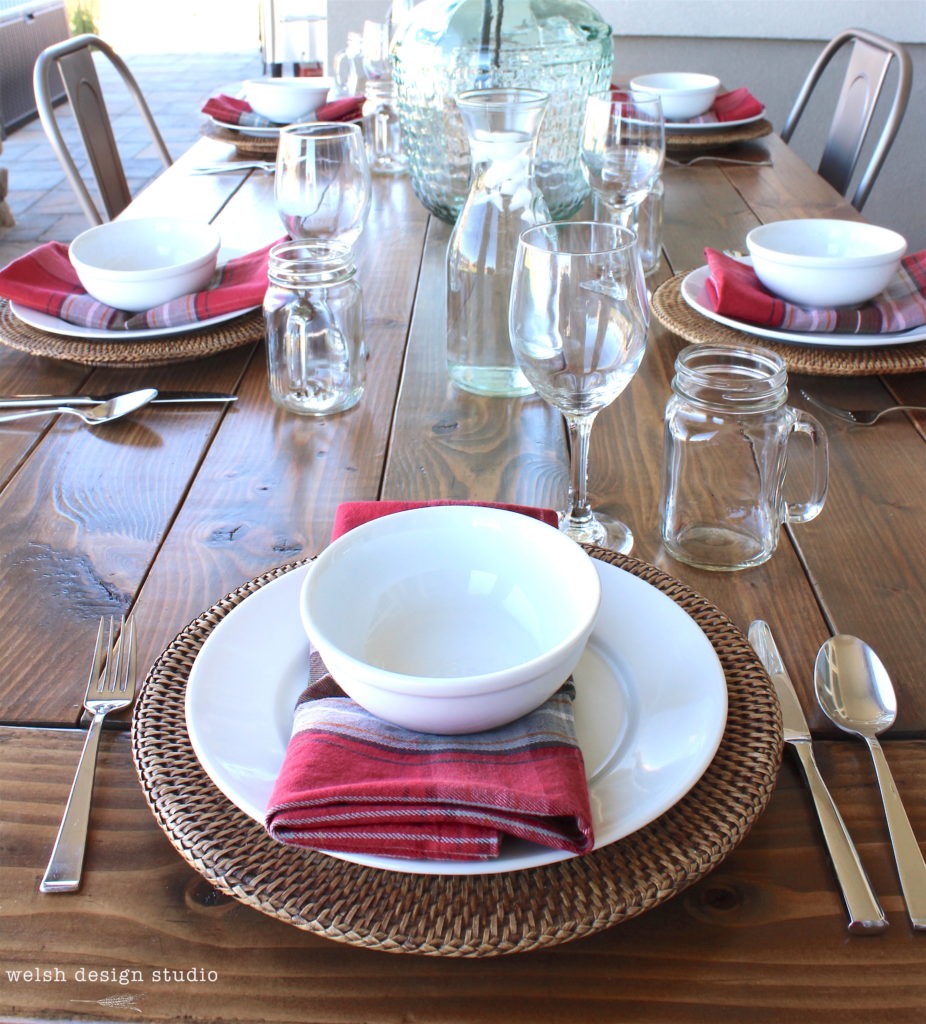
I have to say, making a DIY outdoor farmhouse table is a lot of work! But, we love the way it turned out, and it looks absolutely beautiful out on our patio. And now, without further ado, the pics of the finished product! Once you scroll past the pictures, you can read all the details about how we made the table.
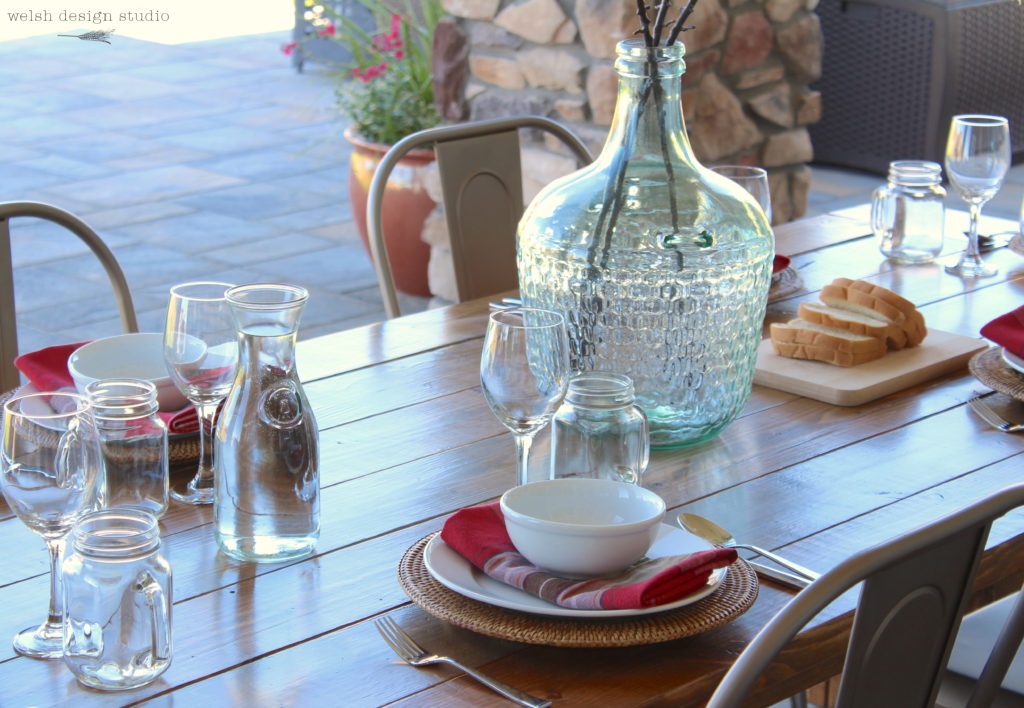
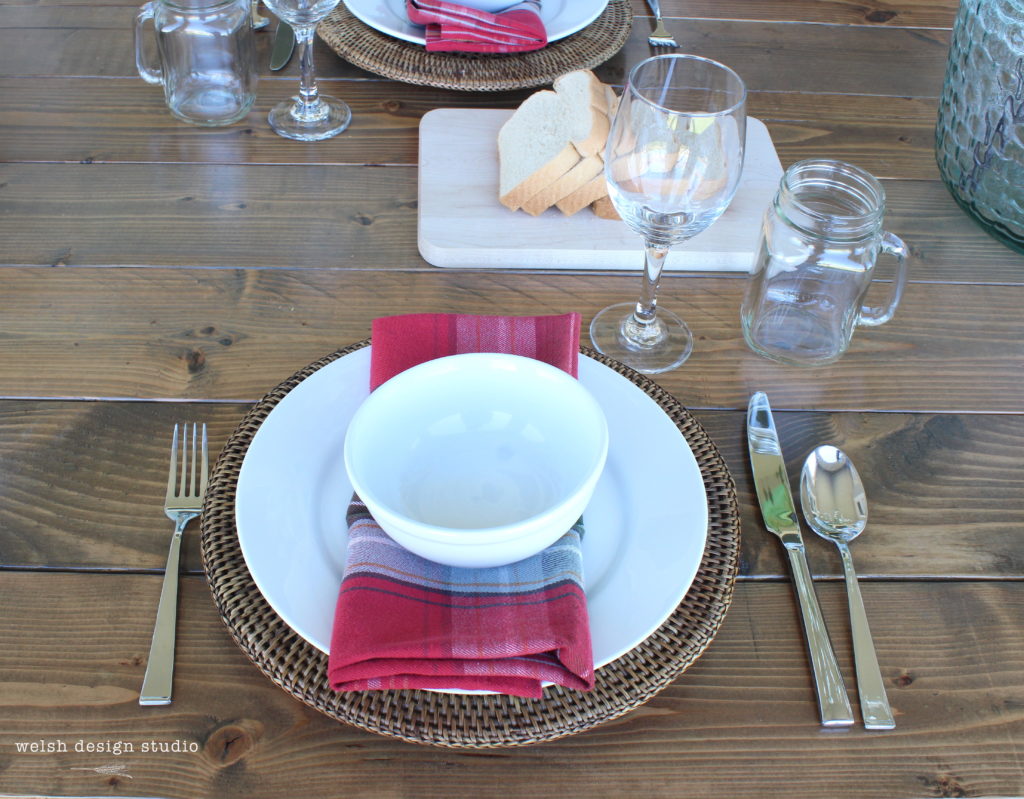
How We Made the Table
Plans
To start, we searched online and found some DIY table plans we liked from Ana White. If you’re not familiar with that amazing site, it is full of DIY woodworking project plans. Everything from outdoor sheds, to coffee tables, to bunkbeds, and more. We chose the Farmhouse Table plan, and pretty much followed the instructions as written, with a few minor tweaks. My hubby is a rockstar and did all the wood cutting and assembly on his own.
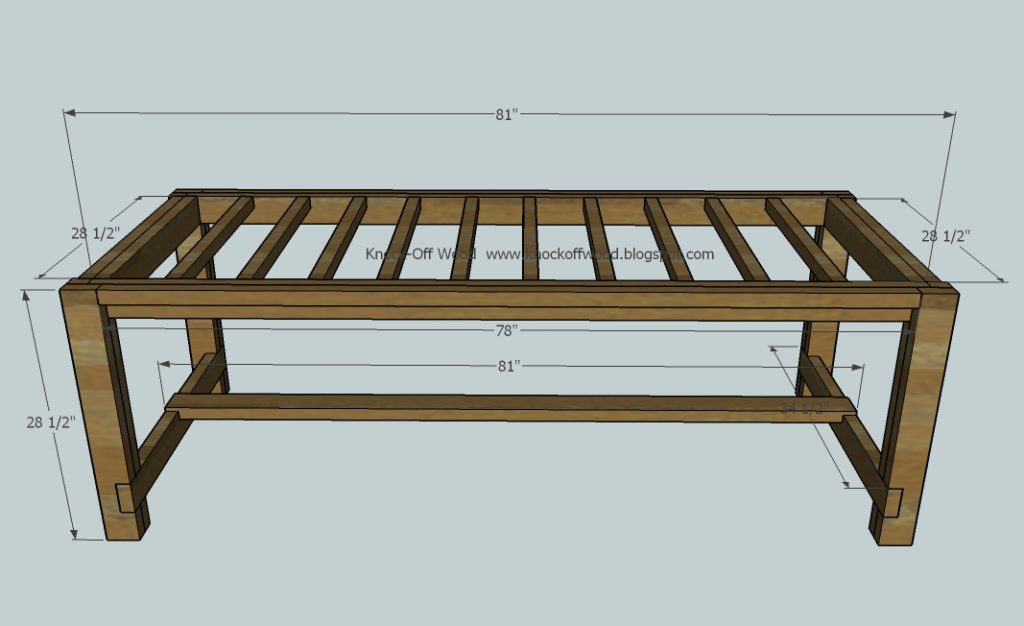
The first minor adjustment we made to the plans was to make the bottom rail flush with the supporting side rails. Here is a picture from the plan. See how the notch that is cut out is only 1″ deep? Well, a 2×4 is 1.5″ deep, and we didn’t want our bottom rail sticking up an extra 1/2″. I don’t know why it’s that way in the plans, but we decided to make our notch a little deeper, and I like it better.
Stain & Varnish
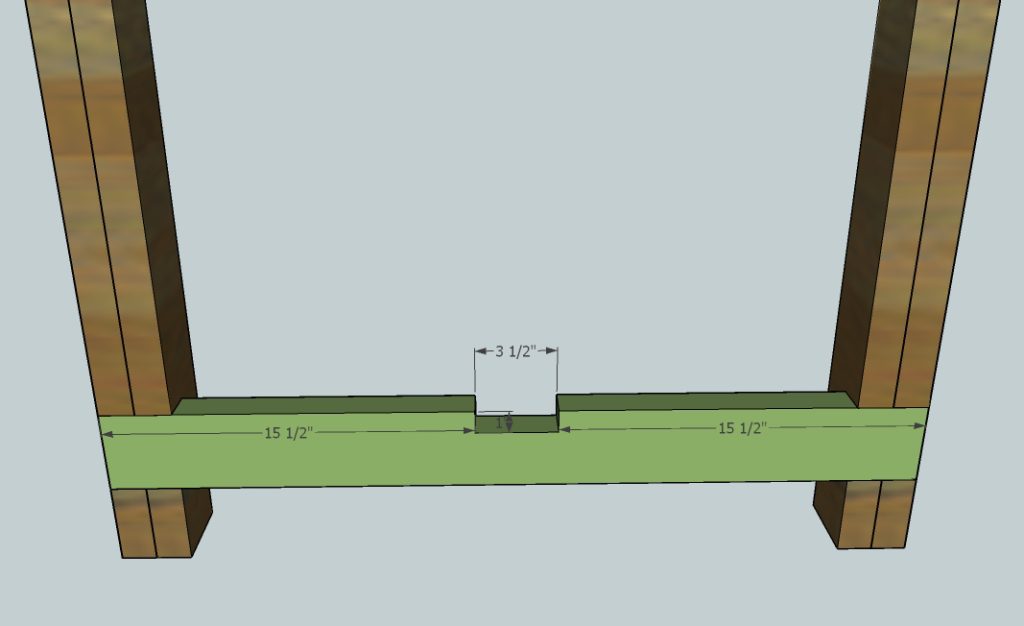
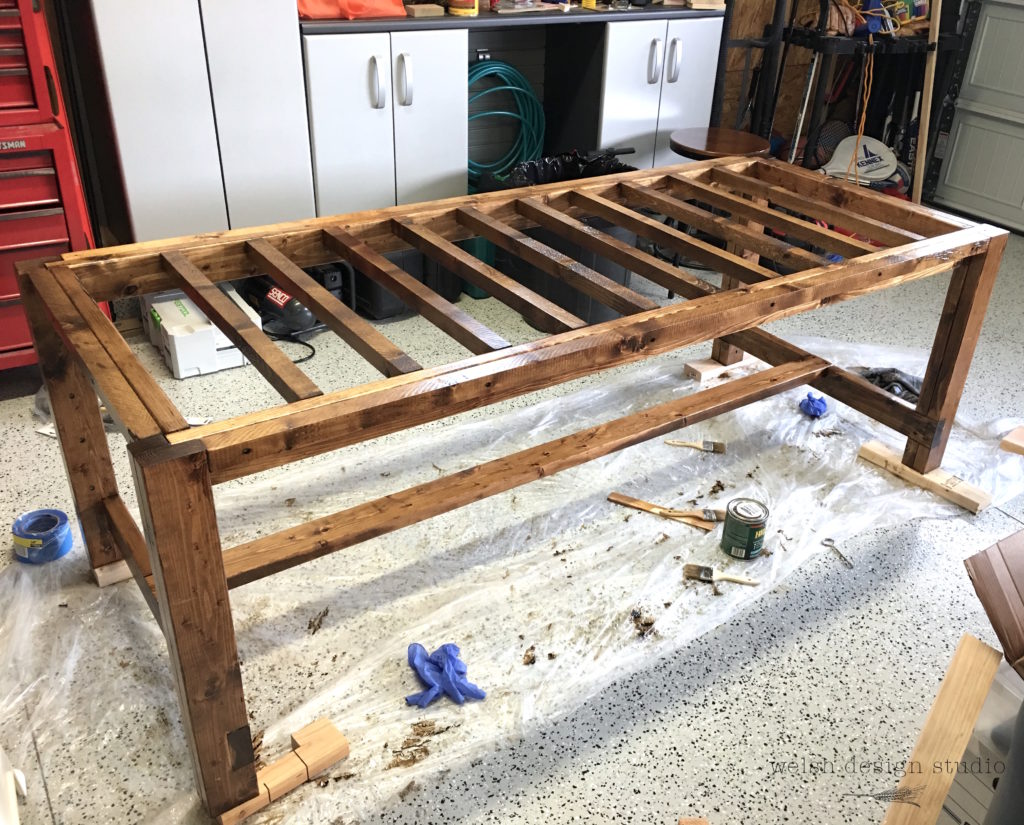
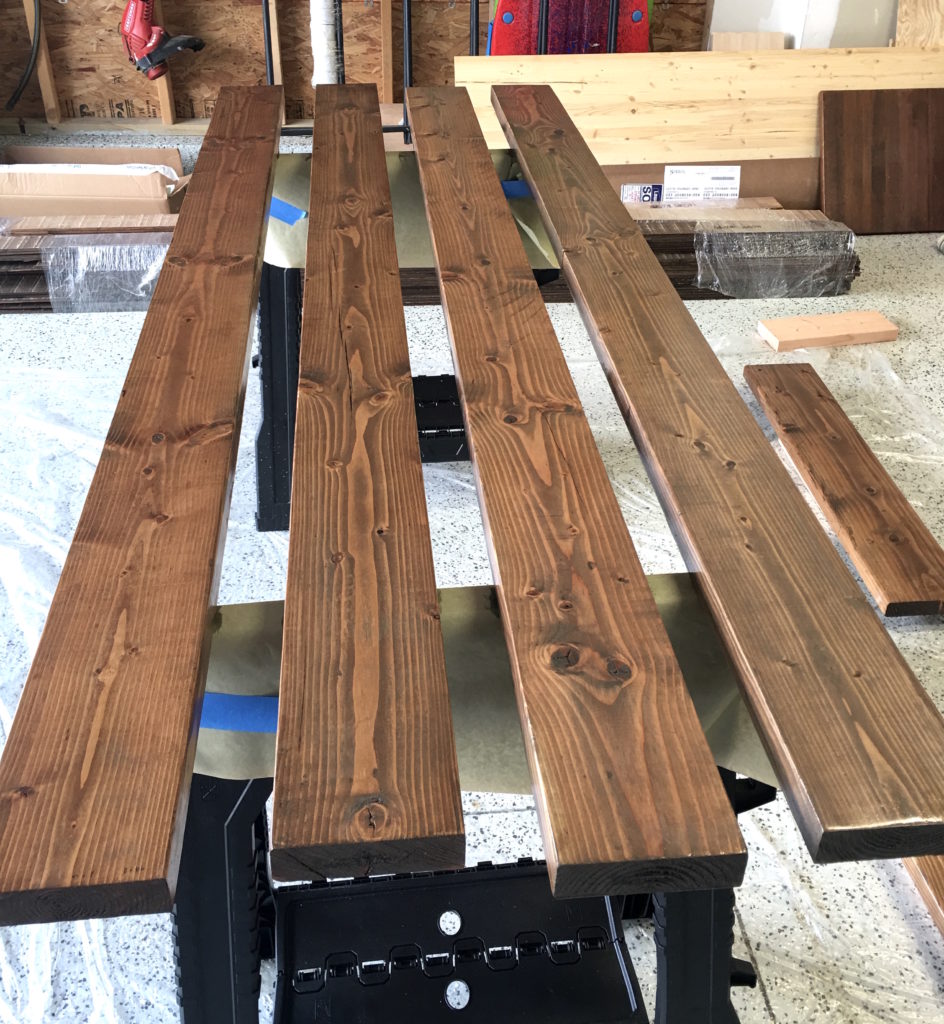
Here is a picture of our frame – stained and with a couple of coats of varnish. We decided to stain and varnish the table frame and the top pieces separately before we assembled them altogether. Because this was going to be an outdoor table, we really wanted to make sure the varnish got applied to all the surfaces. If we had put the table top on first, it would have been hard to get varnish onto the frames’s supporting wood pieces, and between the table top boards.
Stain Colors
We used two stains for the table. First, we put a coat of Minwax Weathered Oak, and wiped it off right away. Then, we applied Minwax Provincial
stain, and wiped it off right away.
Why two stains? Well, we wanted the table to have a bit of gray to it – more than what the Provincial stain gives alone. Also, applying the gray stain first made the grain of the wood stand out a little more. We experimented with different stain combinations on some scrap wood beforehand, and this ended up being the combination we liked best. We applied the stain using cheap foam brushes, and then wiped it off with some old rags that we ended up throwing away.
Varnish
To protect the table, we used Minwax Helmsman Spar Urethane in Satin. This product is great because it contains UV blockers to reduce the Sun’s fading effects, it protects from moisture, and it has some oil in it which allows the finish to expand and contract with the wood (due to seasonal temperature changes). So, it’s a good all around product for outdoor furniture.
We applied 5 coats, which is two more than recommended, because we are overachievers. Just kidding! No, we just wanted to make sure it was extra protected from our crazy Colorado weather, and save ourselves the hassle of having to reapply it too often. Regardless, we will probably have to apply another coat every year or so, but no biggie.
This particular step was very time consuming, because you have to wait several hours between each coat. By this time, I was getting really annoyed with how much space the table was taking up in our garage!
Table Assembly
We moved the frame outside under the covered patio, and then installed the table top boards. The reason we did this was because the table top would have added a lot of extra weight, and it was much lighter to move the frame to the patio first, and then the boards. We deviated a little from the directions to attach the table top. The directions tell you to screw down from the top into the frame, and we didn’t want to see all those screw holes. So, we screwed up from the bottom, and I think it worked (and looked) much better.
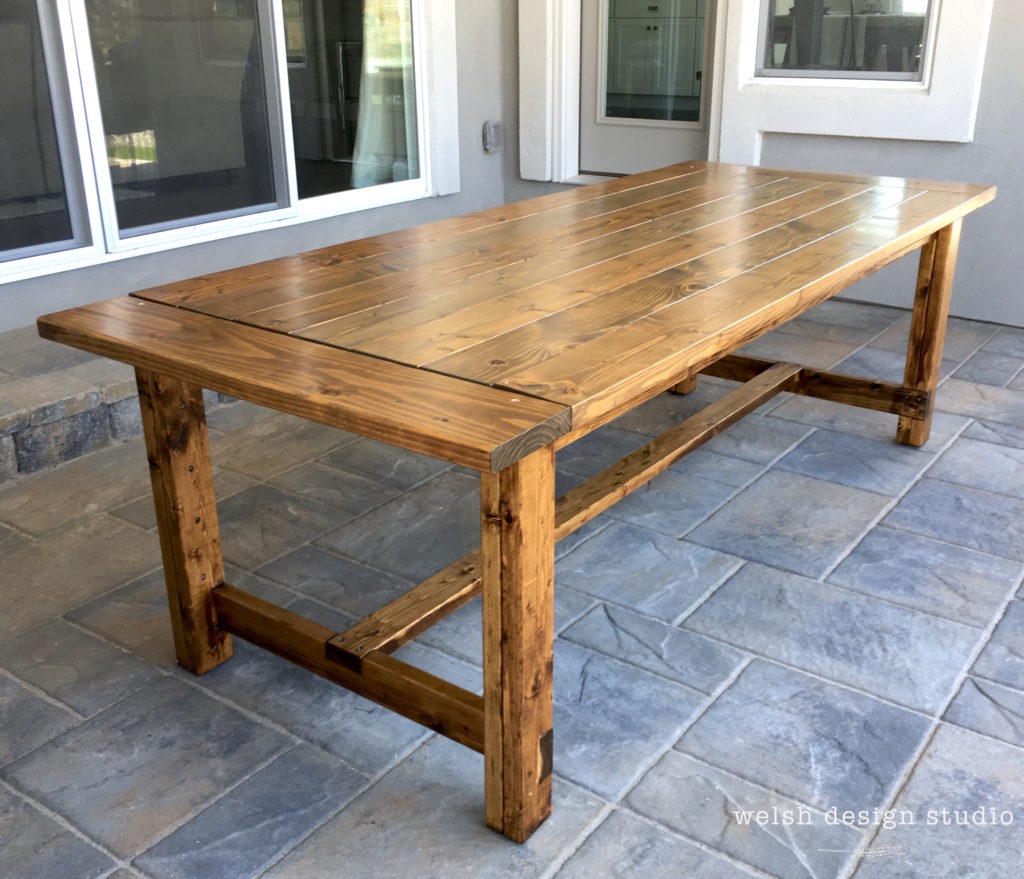
We had to fill a few holes from screwing the two table top ends onto the frame from the top (you can see a couple of the round holes in the picture above). We used wood filler, some stain, and then put on another coat of our Helsman Spar Urethane. Finally, the table was done!!!
We love the way our DIY outdoor table turned out, and tonight we will get to eat on it for the first time! Exciting!
This post was featured at:




What a gorgeous table. It would look pretty indoors also.
I agree! It would be a great indoor table!
It turned out beautifully Melissa. I love the color you got by mixing the two stains. It adds warmth and depth. Wishing you many happy meals and good old fashioned company on your new table
Thank you so much!
Beautiful! I love this table and the table setting. Well done
Thanks Ivory!
Love this table! It’s a classic design and so much nicer than some other outdoor options! Well done. 🙂
Thanks Wendy! We love the style, and the price was just right! 🙂
The one question I have never asked myself….”Why not two stains?”….but with seeing your end results I definitely will be asking myself that question from now on.
We often try mixing two stains to achieve the “right” color, but then again we have a lot of stain lying around in our garage! Definitely give it a try some day!
WOW the table looks great! I love it! Thanks so much for your plans and how you did it! My woodworking hubby will love this. Found your post from the handmade hangout:)
Thank you! So glad you stopped by!
It turned out beautifully! You did a great job!
Thanks Cherryl!
Excuse me while I pick my jaw up off the floor. OK, I’m good…this table is amazing! I so want to make one like this for a friend who is building a new house and I know it would be right up their alley but, I haven’t mustered up the courage to take on such a big project. I just need to do it! Thank you so much for sharing with us at Funtastic Friday! Pinned
LOL! You are so sweet! These particular table plans are easy to follow, and not very difficult, so I wouldn’t hesitate to give them a try.The biggest pain was the many coats of varnish and wait time in between coats. Let me know if you decide to take it on! 🙂
WOW, just WOW! It is absolutely gorgeous! Kudos on a fantastic job ! I’m jealous:) It would look great on anyone’s deck/patio. I’m sure you’ll enjoy it for years to come. Thanks for sharing at Vintage Charm:) xo Kathleen|Our Hopeful Home
What a great table and what great building skills! It looks like something from a pricey catalog. Enjoy your al fresco dinners!! Visiting from Welcome Home Wednesday party.
What a gorgeous job on the table! And that tablescape? Lovely! I’m featuring this over at our weekly link party. http://www.thelifeofjenniferdawn.com/2017/09/decorating-ideas-for-fall-weekly-link.html
hi can you tell me the measurements of all the wood you used?
We followed Ana White’s Farmhouse Table plan, and it has all of the measurements and instructions you’ll need. Check it out here: https://www.ana-white.com/woodworking-projects/farmhouse-table-no-pocket-holes-plan
This looks beautiful, I thinking of tackling this project as well. What type of wood did you use?
Melissa ,
Beautiful job . I’m just wondering what type of wood you used for your climate ? Do you bring it inside in the winter. I live in Ohio . Thank you .