I’m BACK! When I said in my last post that school was kicking my butt (way back in October), I wasn’t joking. My full time class load ended up taking about 40 hours a week of my time, and it became a habit every Sunday night (close to midnight) to thank my hubby for giving me the entire day (and sometimes the entire weekend) to get my homework done. But guess what?!?!? I’m done! I mean DONE done! I’ve taken my last three classes and will be graduating this semester with my Master’s in Interior Architecture & Design. Woohoo!!
After 2 1/2 years, I’m so thankful I stuck it through (although there were more than a few times I questioned whether or not to continue). And the best part? I’ve been given the gift of 40 more hours in my week – a Christmas miracle! I actually had time to do dishes and laundry and clean the house this week. That 40 hours sure goes a long way! There’s so much to catch up on with you all, and so much that’s coming up! I’m super happy and excited to be back blogging and sharing with you.
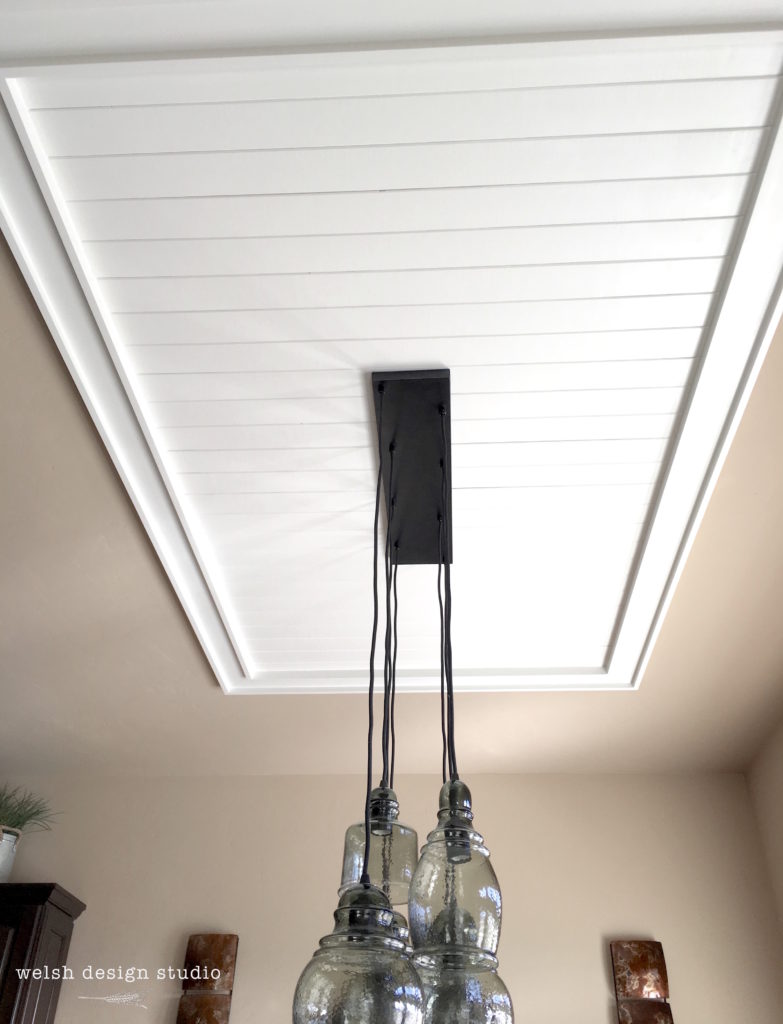
Today, I’d like to show off a beautiful framed plank ceiling project that we completed for some dear friends right before Thanksgiving. If you follow us on Facebook or Instagram, you may have already seen these, but take a look at these stunning before and after pictures!
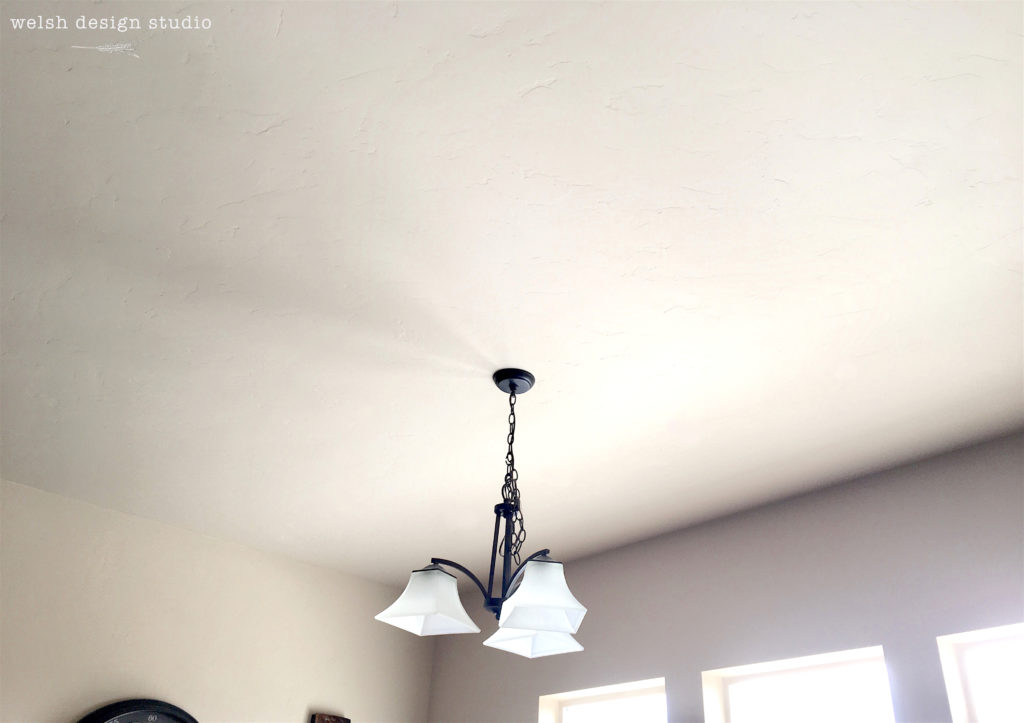
Before
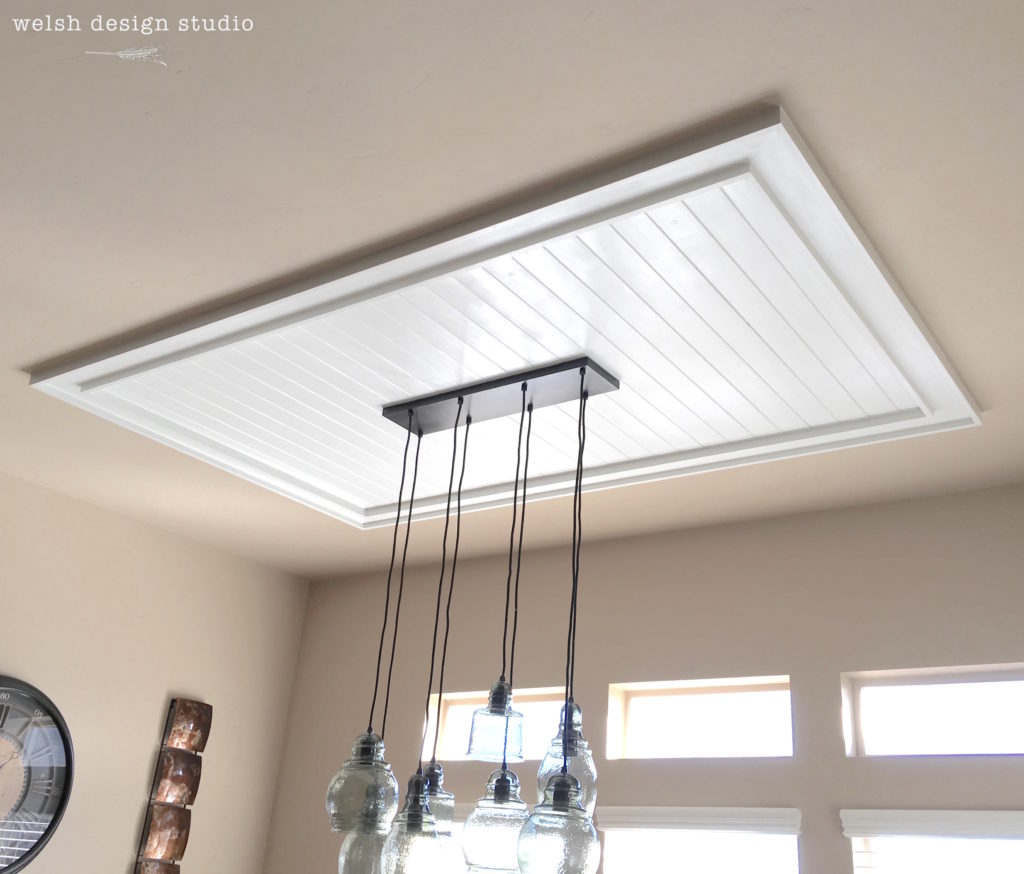
After!
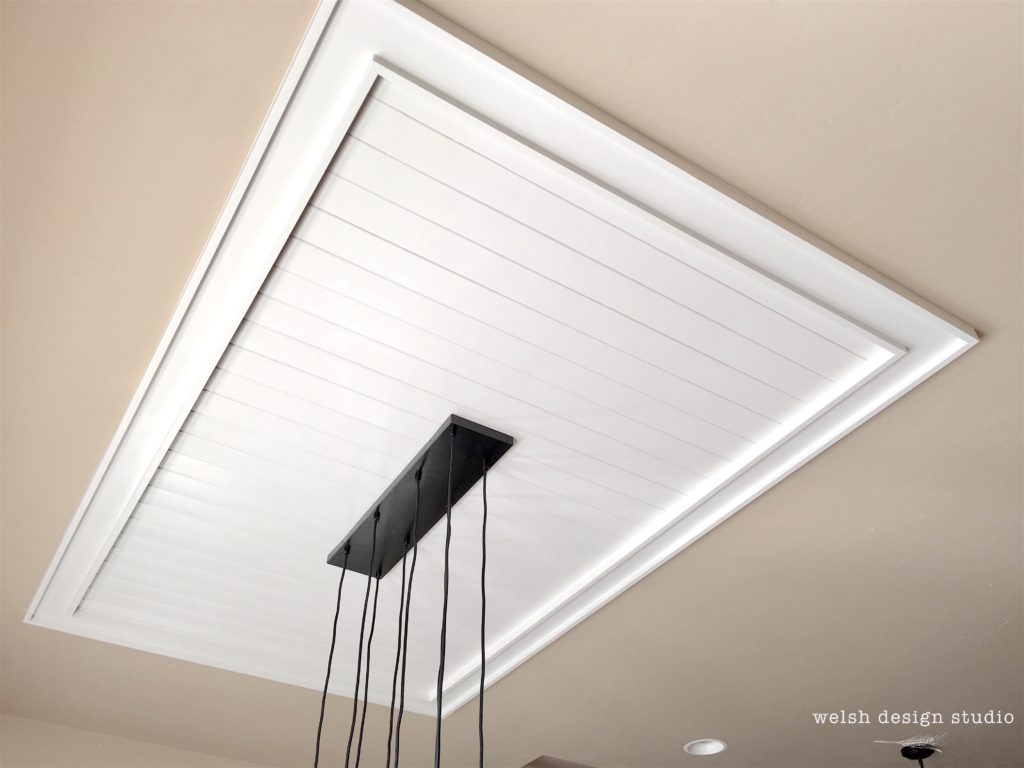
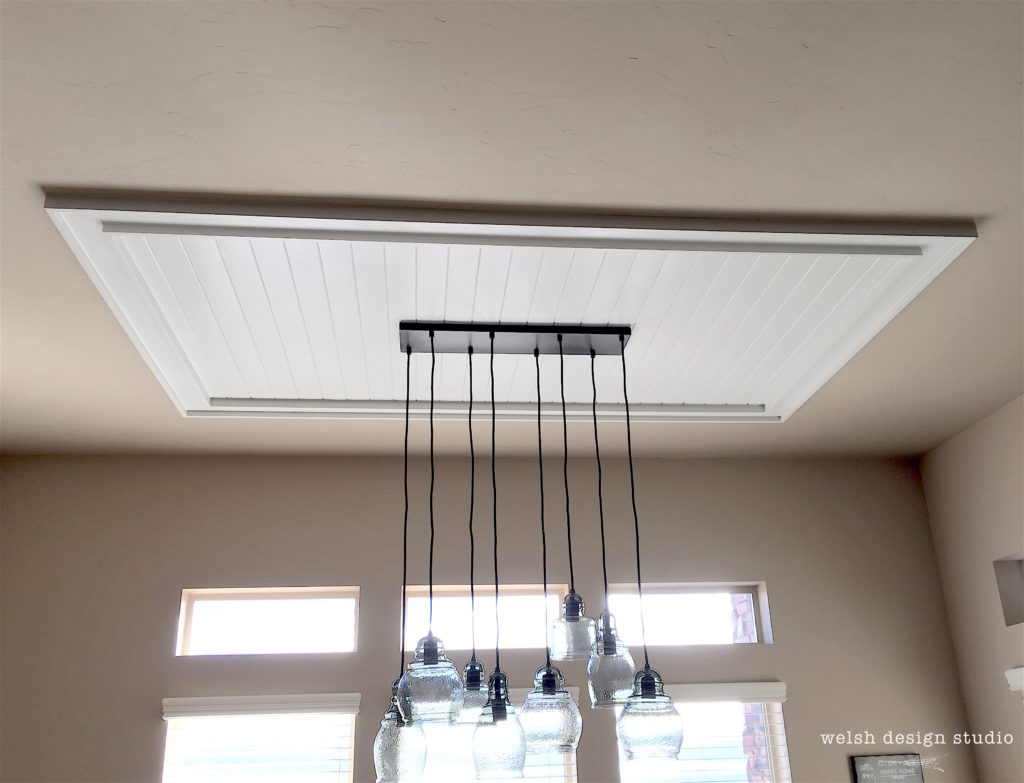
Here’s a few more pretty “after” pictures…
Isn’t is gorgeous? It’s amazing how adding the framed plank ceiling in this dining room added so much character! Plus, it was the perfect addition to set off their new Pottery Barn pendant chandelier.
HOW TO
So how did we do it? To create the frame, we used pieces of 1×4 flanked by two 1x2s, and assembled the frame in our workshop ahead of time. We used 4 packages of Knotty Pine V-Groove planks (6 pieces per package) from Home Depot. For the planks, we had to fill a couple of knots using some spackle, and there were a few pieces in the packages that were damaged, but for the most part this product works great for DIY plank projects. We pre-painted everything with Sherwin Williams Moderne White before installing. Once we had everything installed, we caulked and filled the nail holes, and then touched up the paint. I just LOVE the way the plank ceiling enhances this space! But why limit yourself to the dining room? This ceiling bling would look fabulous in any room in the house! I’m already thinking of a few rooms in my own house that “need” something like this…
Hope you are all having a great December! So good to be back with all of you!


WOW! WOW! WOW! I really love the lighting. It has just the right amount of sophistication and rustic charm. I love the planking also.
Thanks Joy!
I wouldn’t have thought of that as a feature to do but it looks like it was always supposed to be there. Great job!
I absolutely love this idea. Thank you and Happy New Year
Nice design. Love this idea too. And congrats on the degree. Woo Woo! Thanks for sharing at our link party!
Thank you, Stephanie!
Congrats, so glad you’re back! Just LOVE that plank ceiling (AND the chandelier lol). Thanks for sharing at Vintage Charm! xo Kathleen|Our Hopeful Home
Thanks Kathleen! So glad to to back!