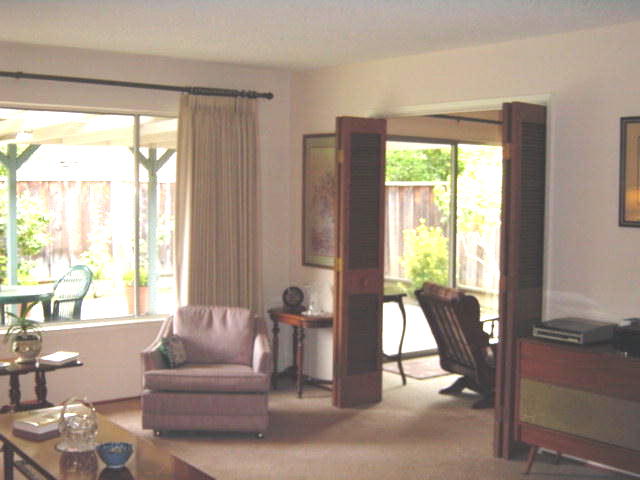
I tried to ignore those bifold doors, but they kept catching my eye as I sat on the living room couch. We were never going to use those doors, and they looked so old and outdated. Weeks passed, and still the doors remained. Should we hire someone to take them off? No, that seemed like a waste of money for such a small job. But, I was afraid if I took the doors apart I would never be able to fix it or make it look right again. After all, I didn’t know anything about construction!
Now, I’ve always been a little bit impulsive. Or rather, I’ve always had a strong desire to try new things, like right this minute…is that the same thing? One day, I grabbed a screwdriver and just removed the doors and their hinges right off the opening.
Wow! The whole room suddenly felt more open. Sure, there was some ugly trim left with cutouts where the hinges used to be, but the door opening already looked better. I had no idea what to do next, but I definitely liked the fact that the door was gone.
I turned to the internet for help with what to do next. But, I have to tell you, back in 2002 there wasn’t a whole lot of DIY websites or blogs. HGTV wasn’t even popular yet!
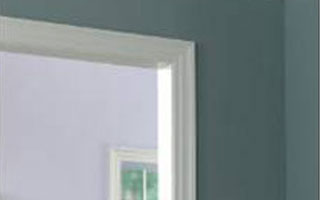
From what we could tell, we needed to take off the door jamb, and all the trim/casings, and then replace them all. We’d also have to mitre (cut at an angle) the new door casing. So, we bought ourselves a little mitre box, some nails, and a countersink. I also picked out some wider, more decorative trim for the door opening. This was the look we were going for:
We measured, and made our cuts, and installed the new casings, and… it wasn’t perfect. There were some gaps, and the trim didn’t seem to be the same distance from the new door jamb from top to bottom. Andrew was frustrated, thinking that we must have screwed up somehow.
But then, something wonderful happened. I filled all the nail holes, caulked all the gaps and seams, and gave everything a couple of coats of glossy white paint. It looked amazing! I was in love with it, and at that moment became absolutely hooked on DIY. After all, if we could create something that pretty and totally change the look of a room, what else could we do to improve our house?

It took Andrew a little longer to get on board. We started examining the door trim in everyone’s house that we visited, and we noticed something. None of it was perfect! There were imperfections., and it started to dawn on us…nothing in home improvement seemed to be perfect, and no one seemed to notice! It was enlightening, and freeing for Andrew.
We are often asked how we learned to do what we do, and the answer is simple. One DIY project at a time. With each new project, we became more ambitious, and we built upon what we had learned before. We also bought better tools, which significantly cut down the time it took to finish our projects. Sure, we made our share of mistakes along the way, but nothing that we couldn’t fix.
Over time (17 years!), we’ve learned so many tricks of the trade, and even had some official training in woodworking. We became so comfortable in the world of DIY that we now have our own custom woodworking business! It’s crazy to think back to that one little door casing project that was so scary for us to attempt, yet became the project that started it all!
So, the moral of the story is that anyone can do what we do. DIY just takes a willingness to learn, to try new things, and to accept that you may make mistakes, but each mistake will only help you get better.