As a designer, I often purchase furniture from vendors. But, sometimes I just can’t find that “perfect” piece of furniture I need for a space. When I can’t find the right size, or the right wood tone, or the right look, there’s only one thing left to do…make it! After all, I will always be a true DIY girl at heart.
Andrew and I built a beautiful DIY kitchen table this Saturday. It was so easy, and only took a few hours once we had all the supplies in hand. Here’s a quick tutorial on how we built the table. The best part? You can make this table to be any dimensions you want! It would make a fantastic kitchen island, too…just sayin’!
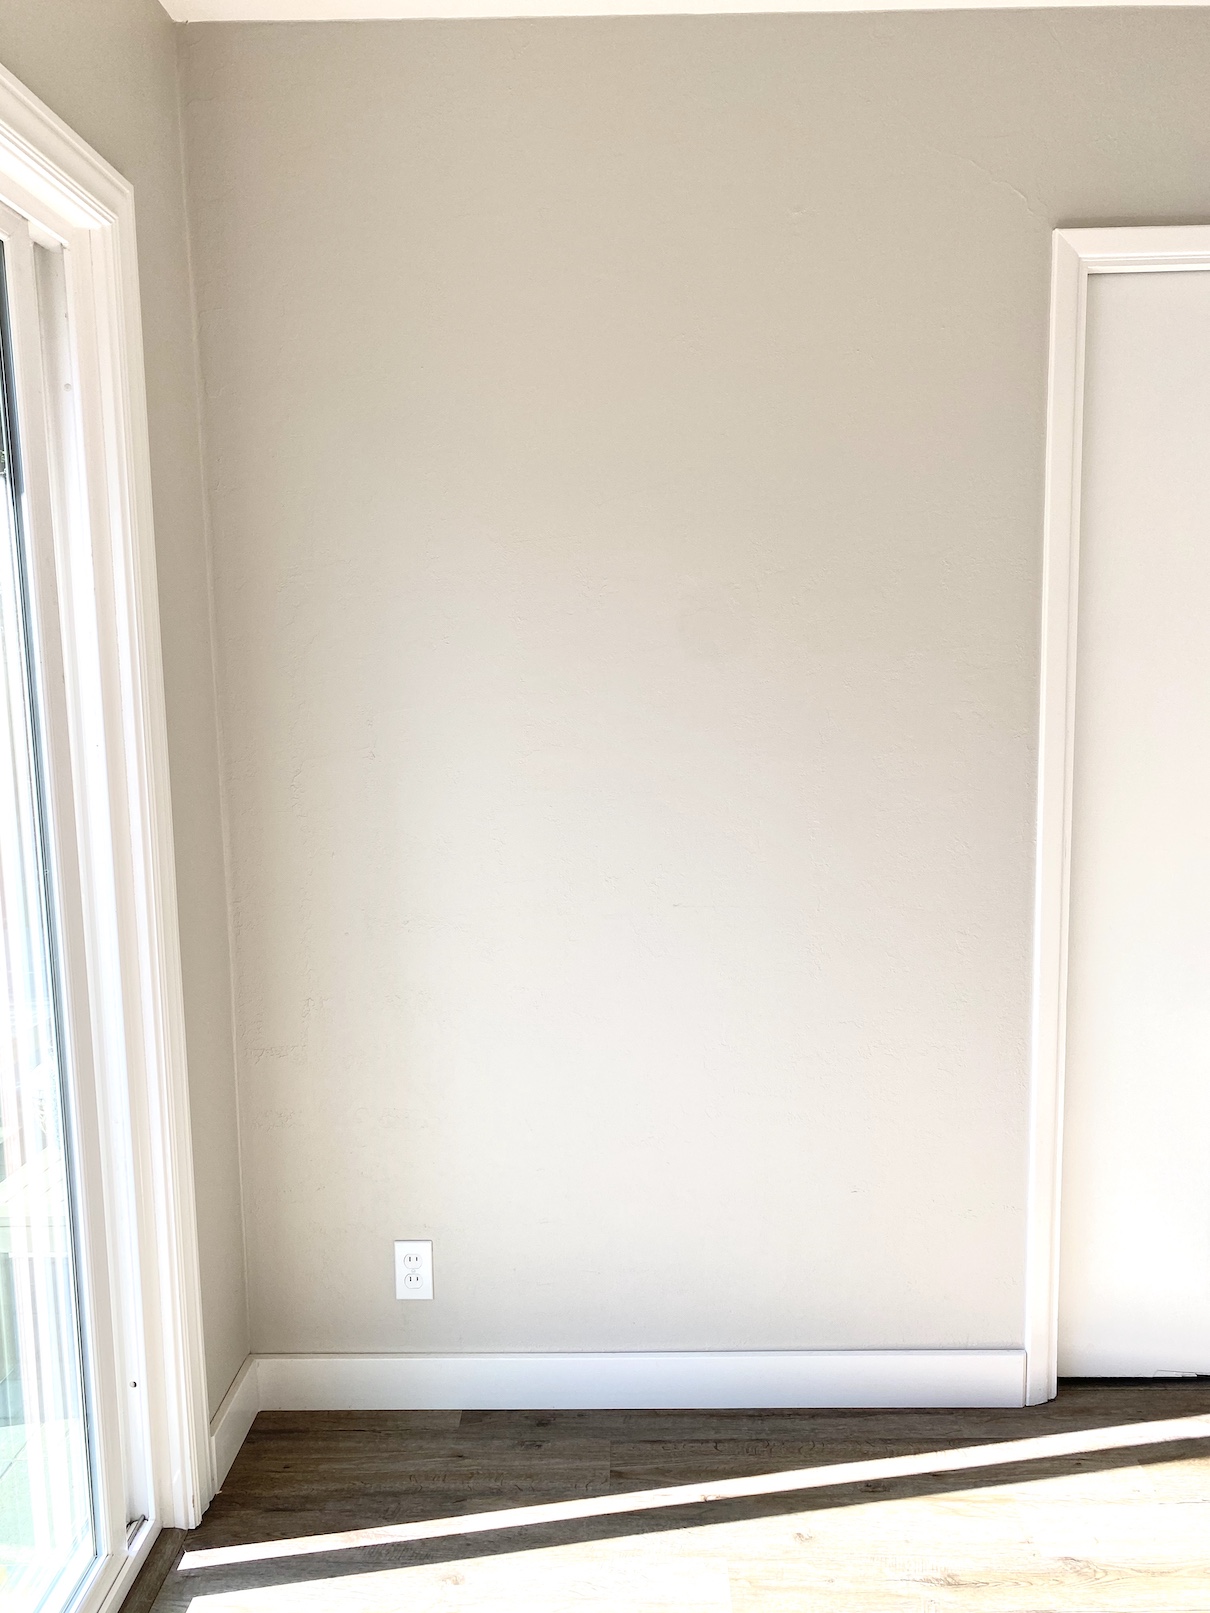
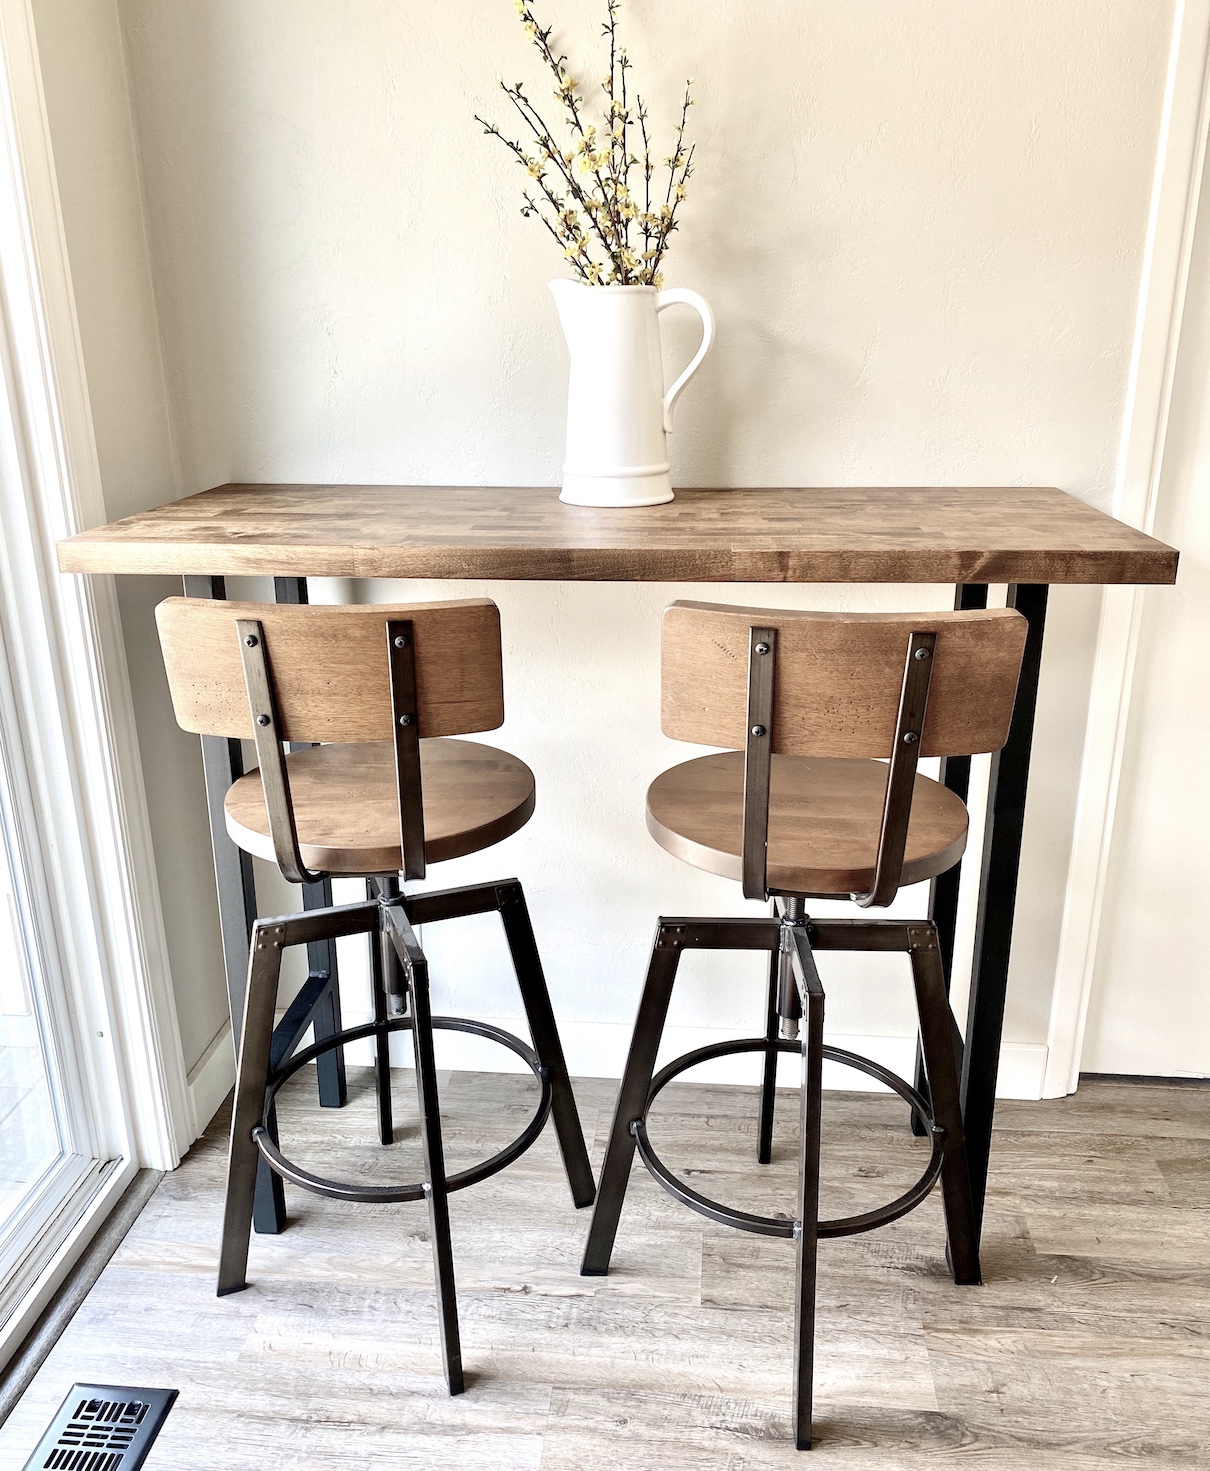
It all started with some barstools. Back in Colorado, we bought some gorgeous wood barstools with industrial black metal legs. It was love at first sight! Since we moved to California, I haven’t really been able to use them because we didn’t have a bar or kitchen island …so sad. However, in our new house we have a spot in our kitchen that is perfect for a bar-height table, and I was so excited to finally use a couple of my barstools. I just couldn’t find a table that was the right size, and also happened to coordinate well with the barstools.
Step 1 – Order Your Legs
First, we determined the size we wanted for our table. In our case, we wanted a table that was 48″ wide x 21″ deep x 42″ tall to fit into our empty nook.
I ordered some gorgeous H-frame metal table legs from TheOldTimberMill shop on Etsy. We purchased legs that were 40″ high x 14″ wide, and black powder-coated. A good rule of thumb is to subtract 4-6 inches from the depth and 1.5″ from the height that you’d like the table to be when finished. We were initially thinking we’d do an 18-20″ deep table when we ordered, but decided to go a smidge deeper to 21″. The 14″ wide legs worked perfectly.
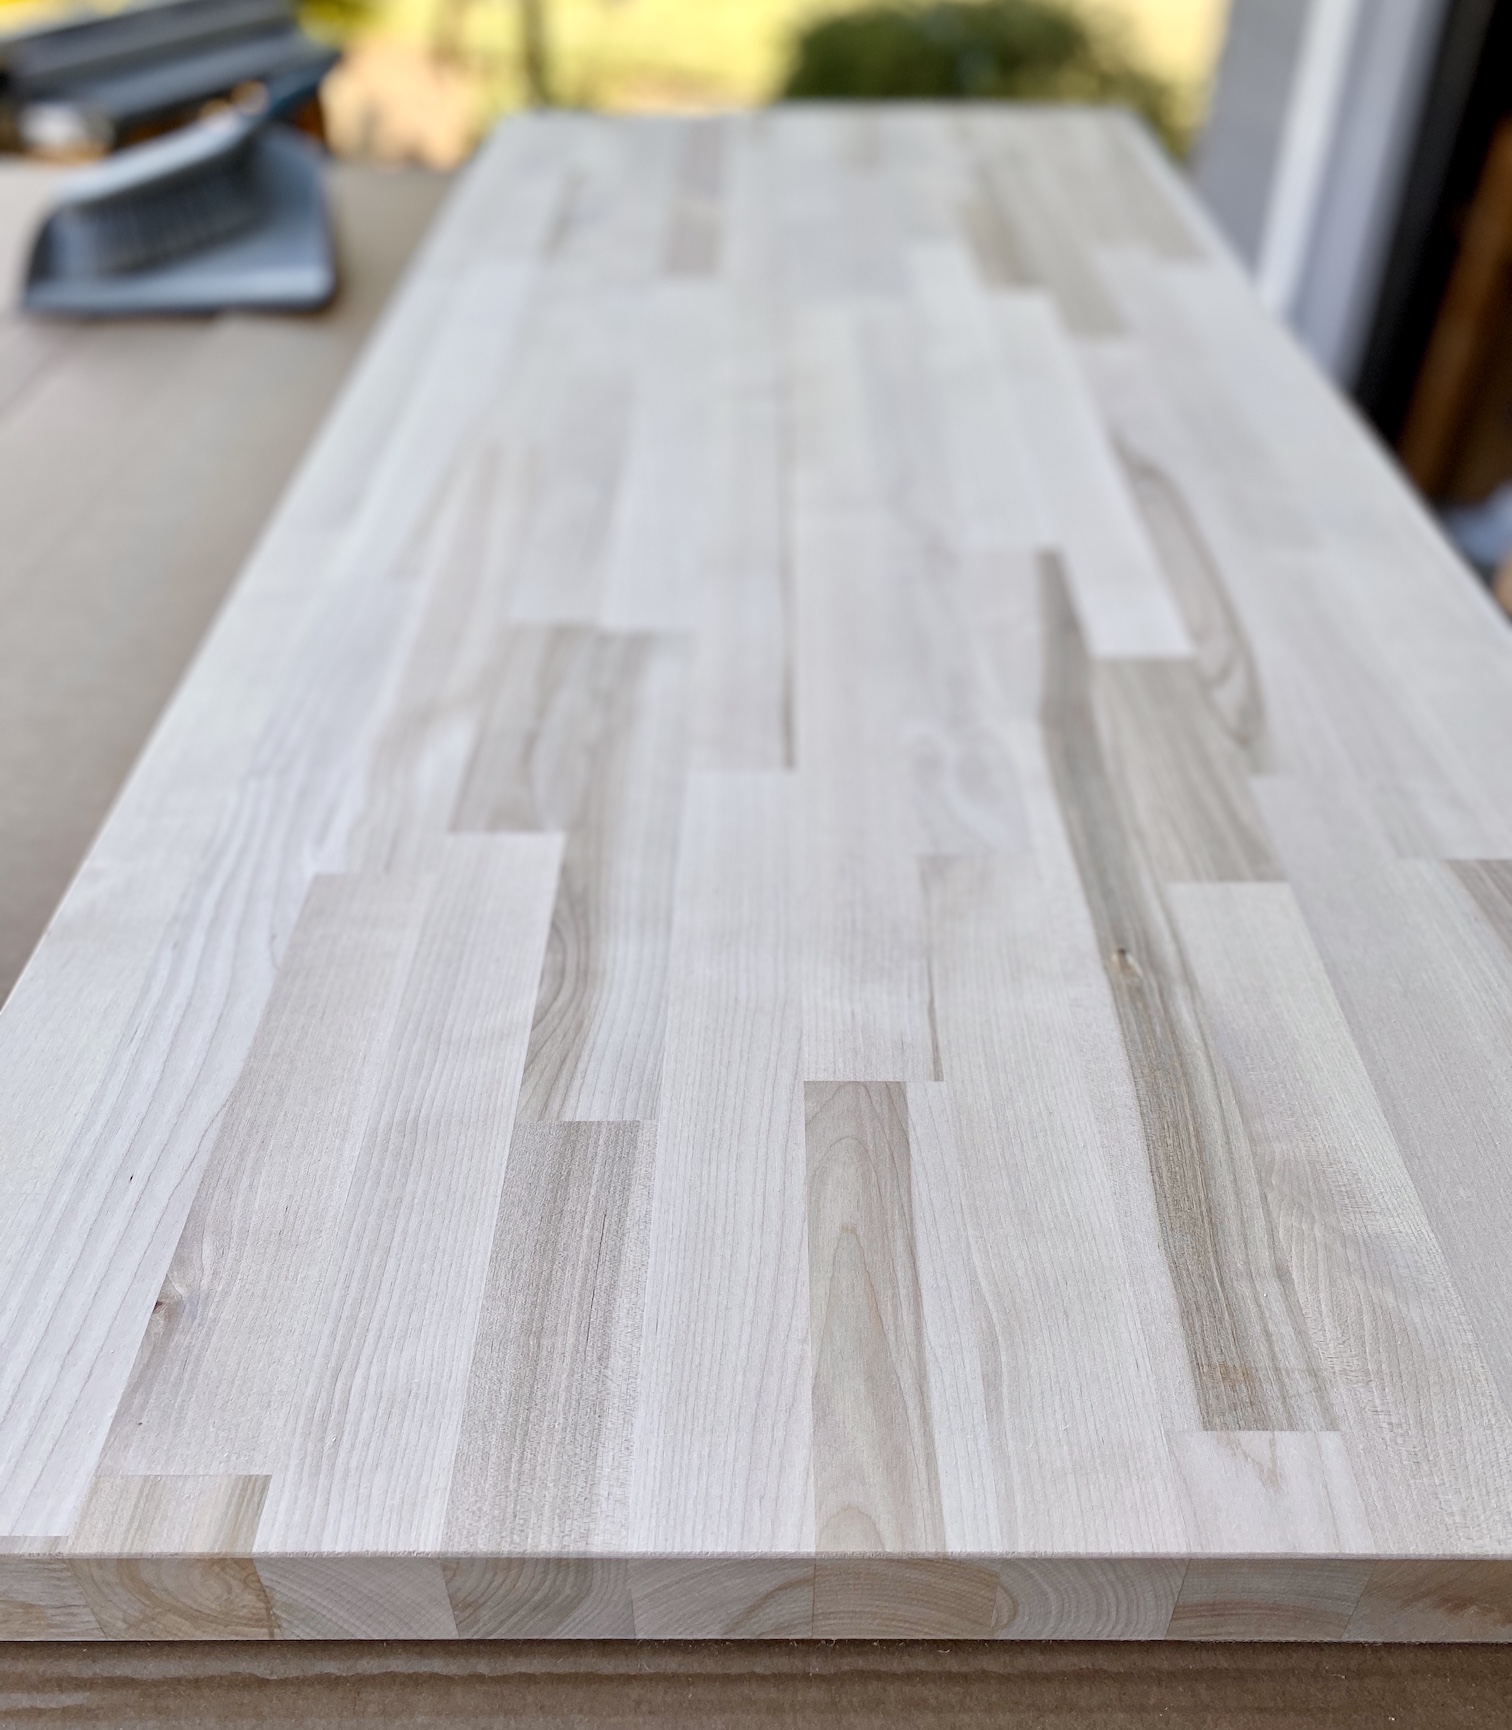
Step 2 – Choose Your Table Top
For the table top, we purchased a butcher block countertop from Home Depot. We’ve bought this same butcher block countertop several times for various projects, and always been really happy with it.
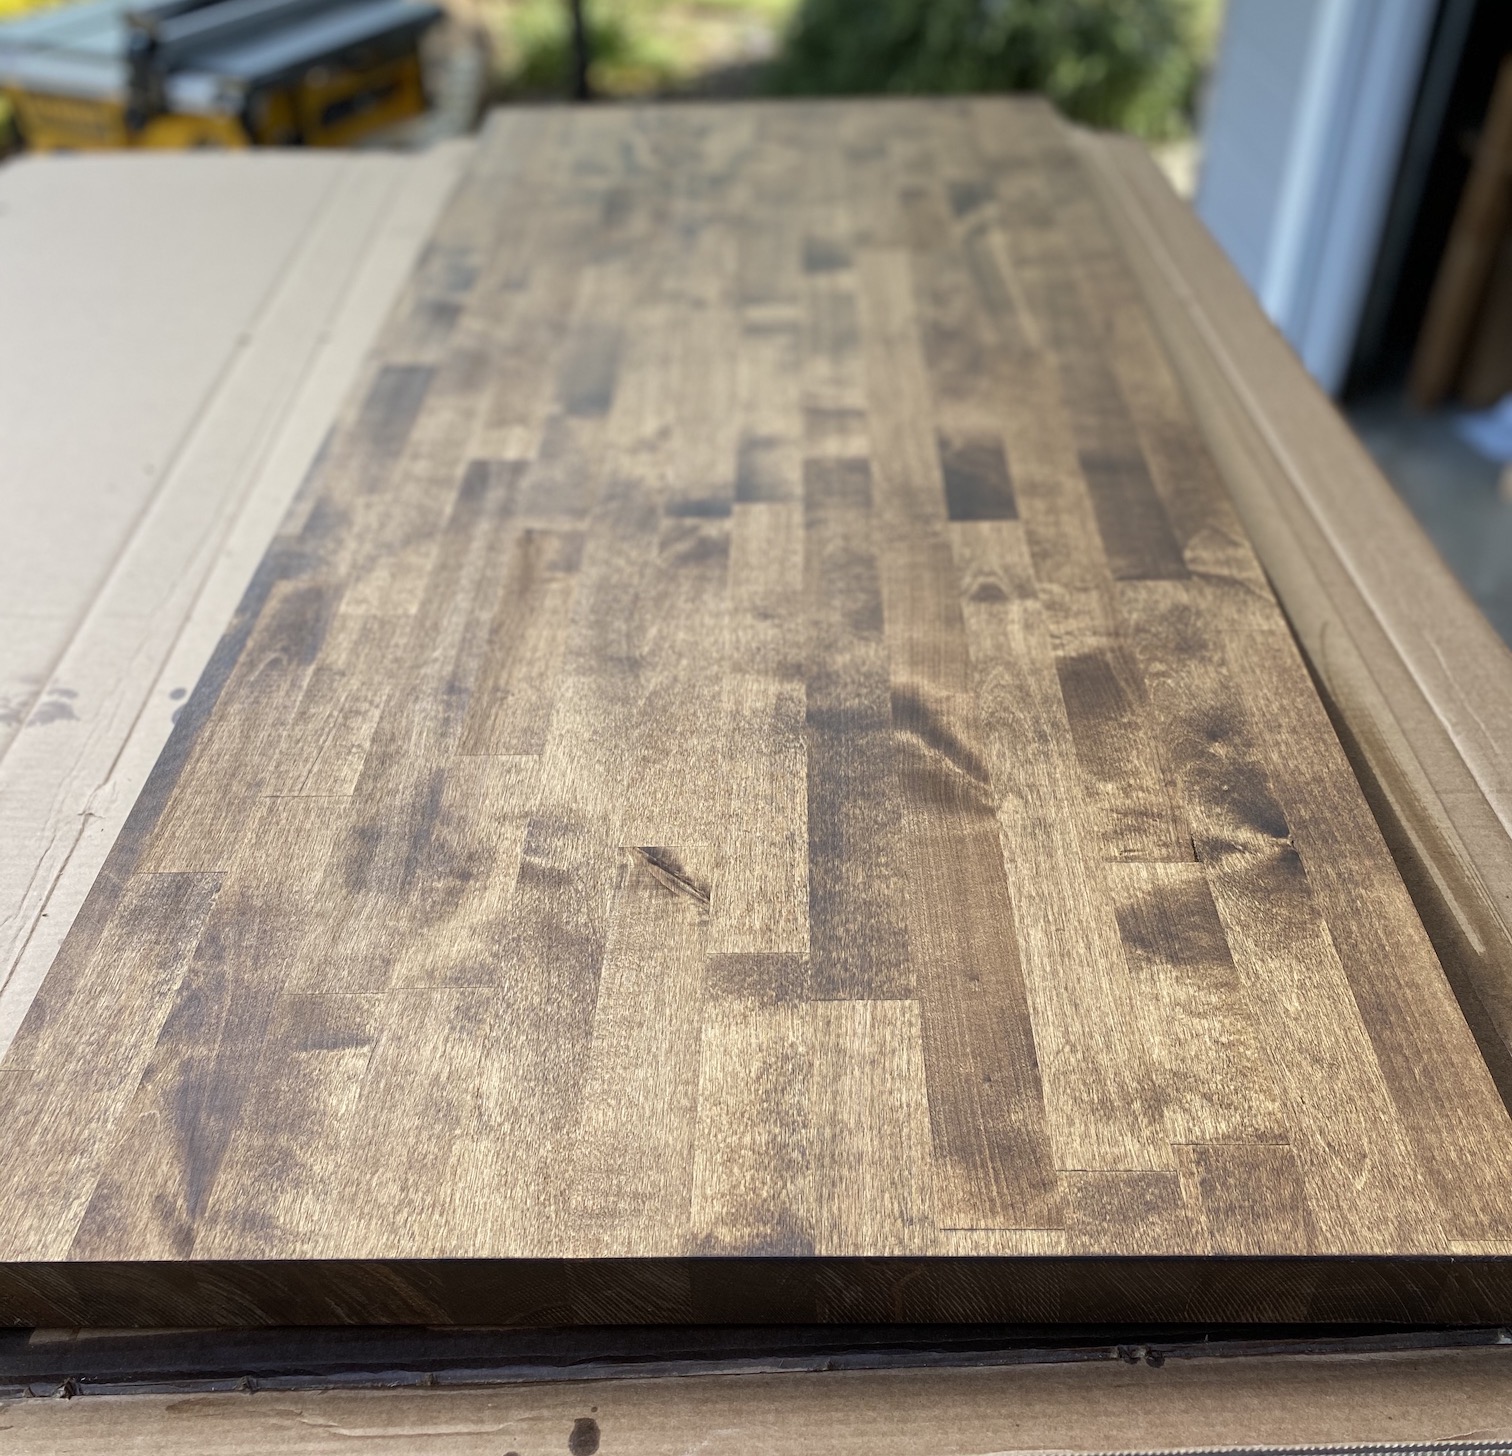
Step 3 – Finish the Table Top
We wanted to stain our table top to match the barstools, but you can finish yours however you’d like. We stained it with Minwax Provincial, which was a great match to the barstools. Next, we applied a matte polyurethane top coat to the butcher block. I like General Finishes High Performance Topcoat in Flat. Here is our table top all finished and ready to install.
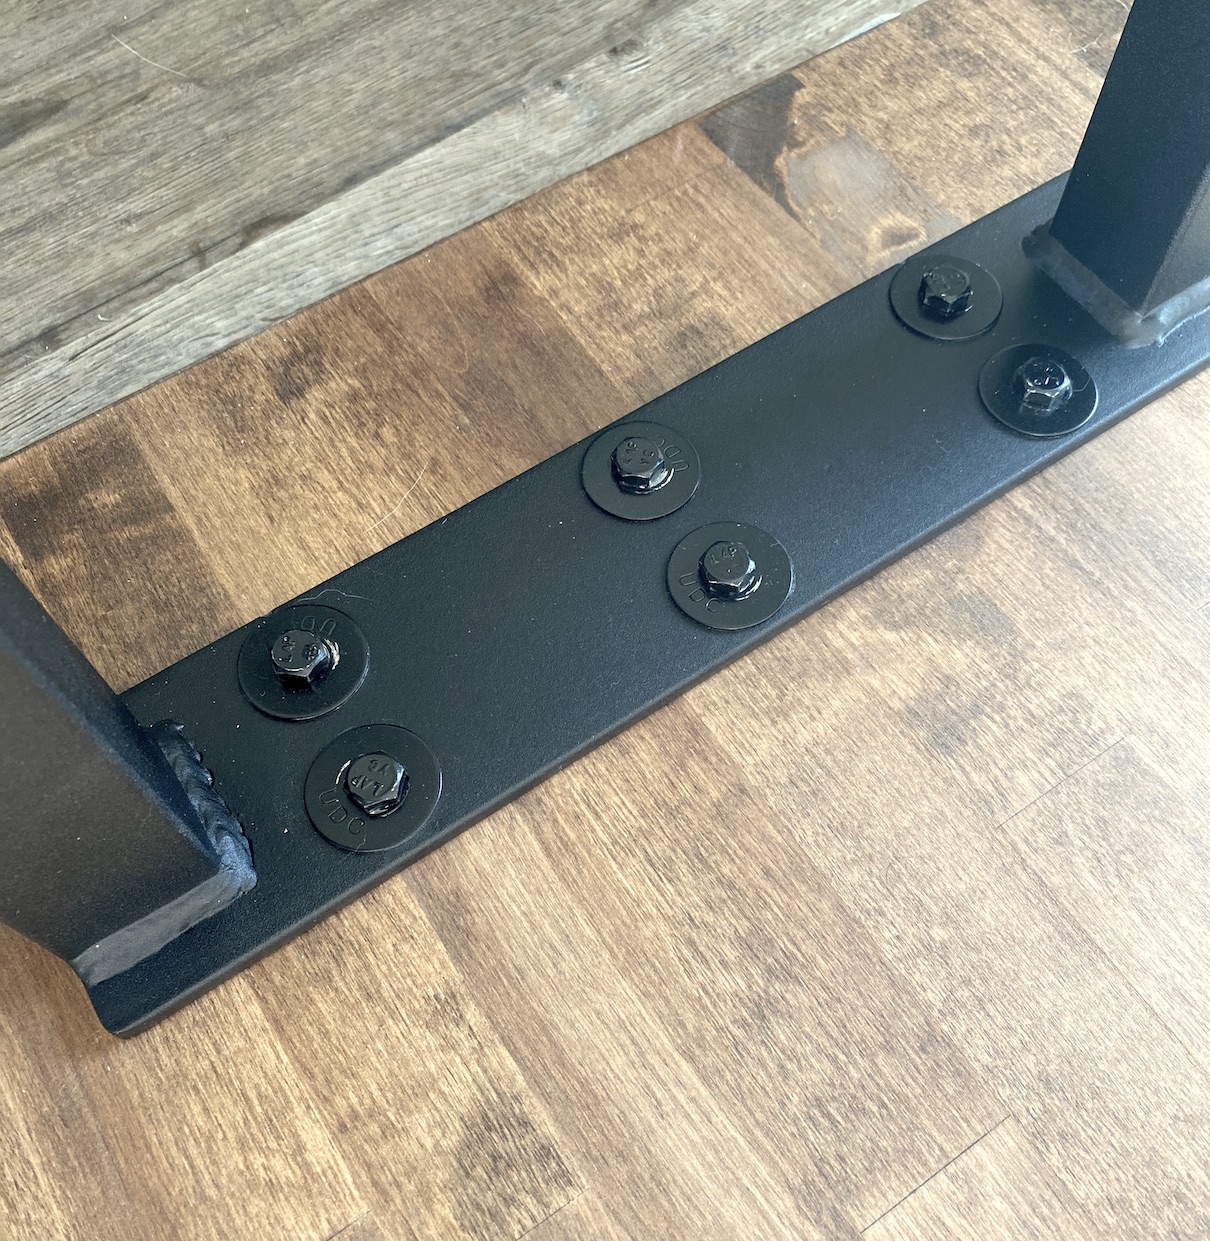
Step 4 – Attach the Legs to the Table Top
We attached the legs and top together with 1.25″ lag screws and washers. We spray painted the washers and screw heads black to blend in with the metal table legs. Don’t forget to pre-drill!
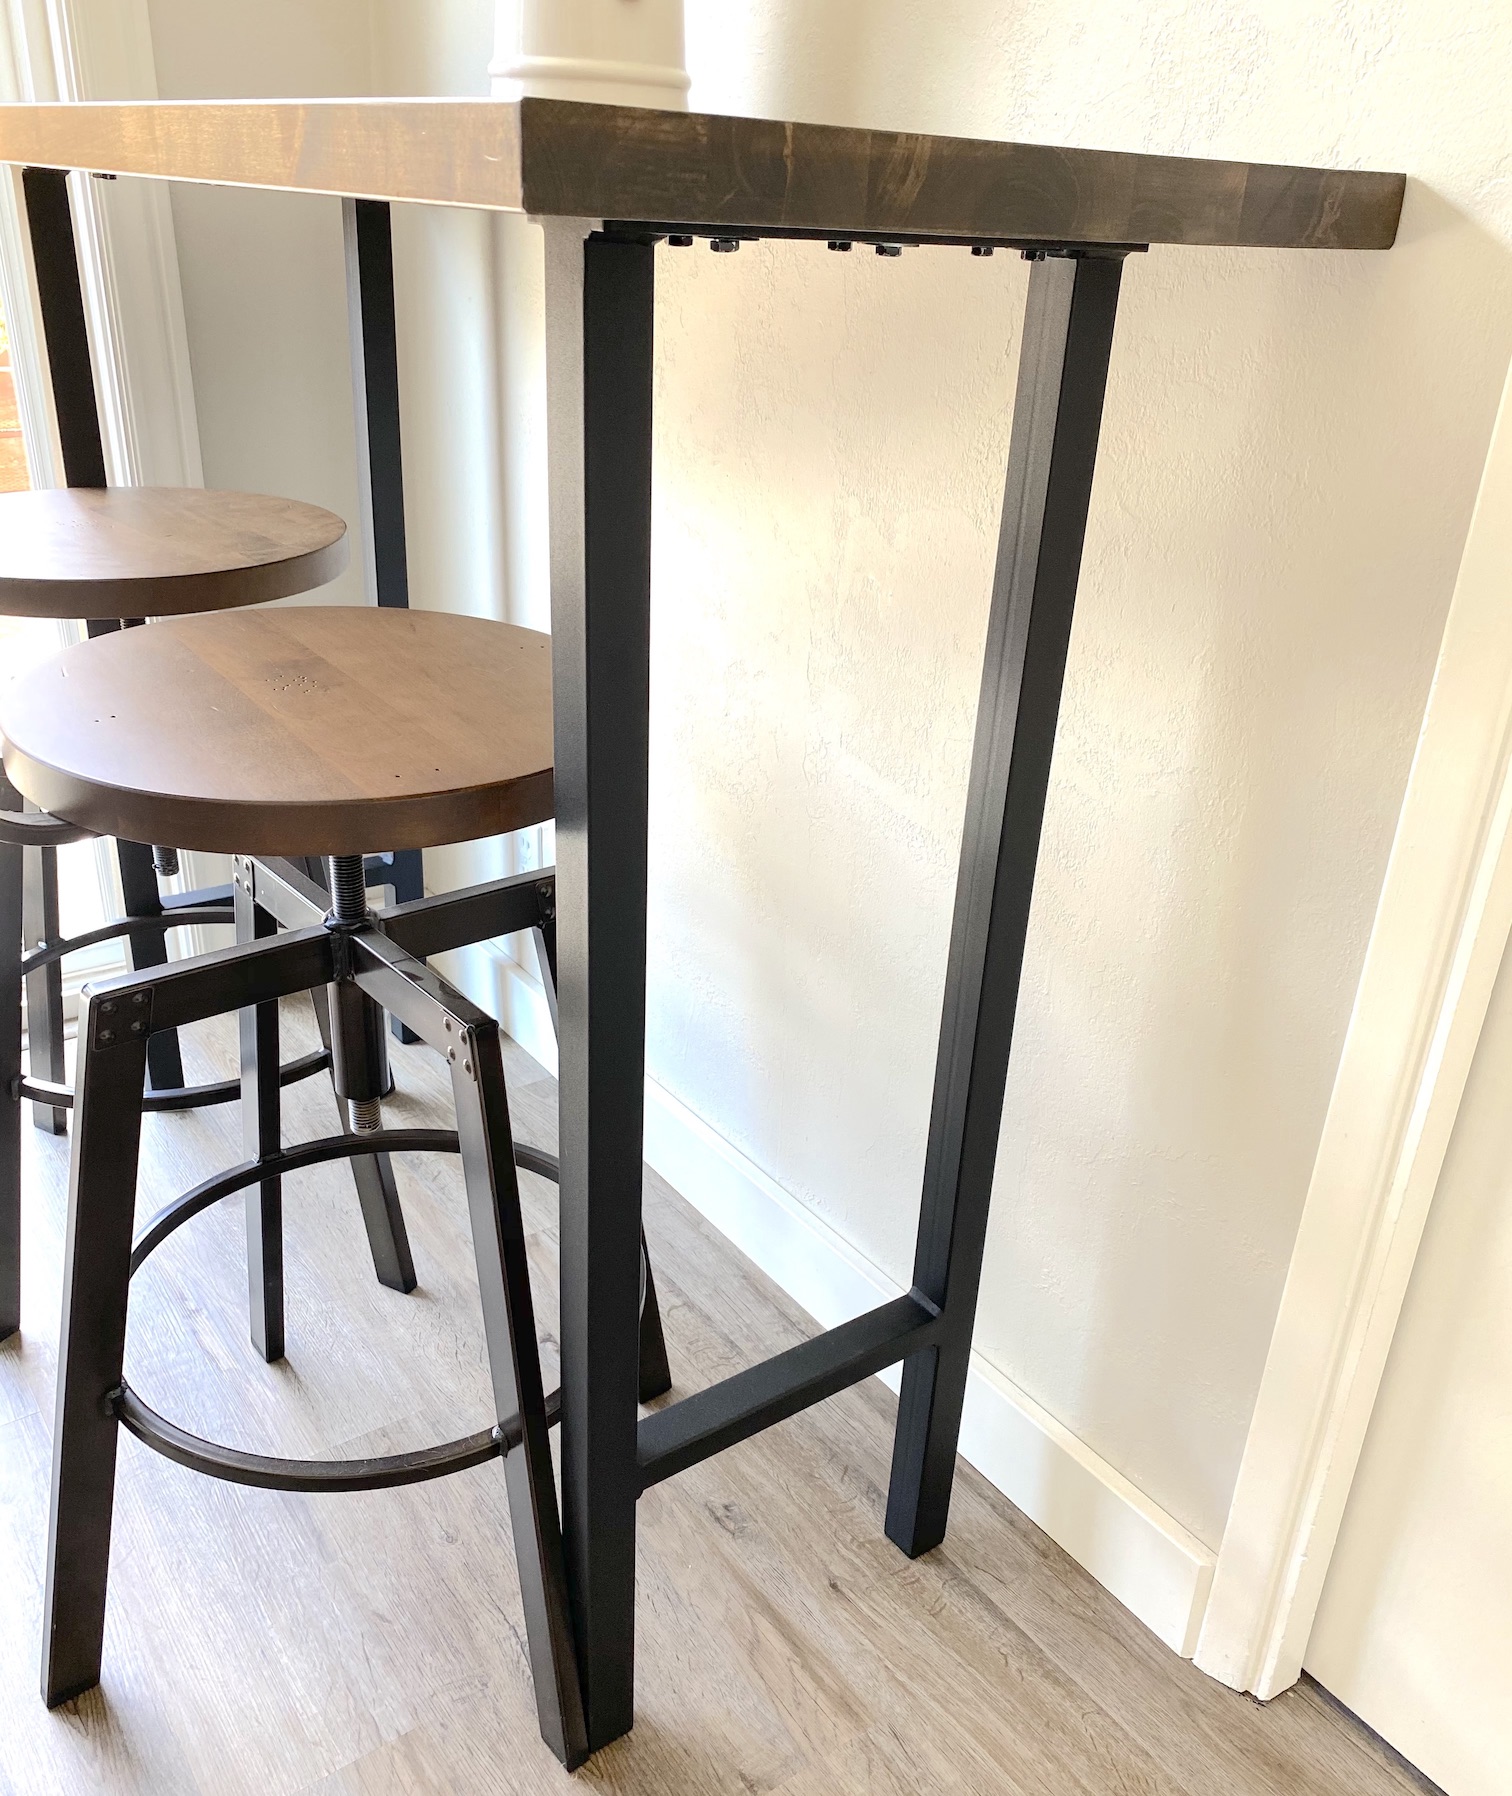
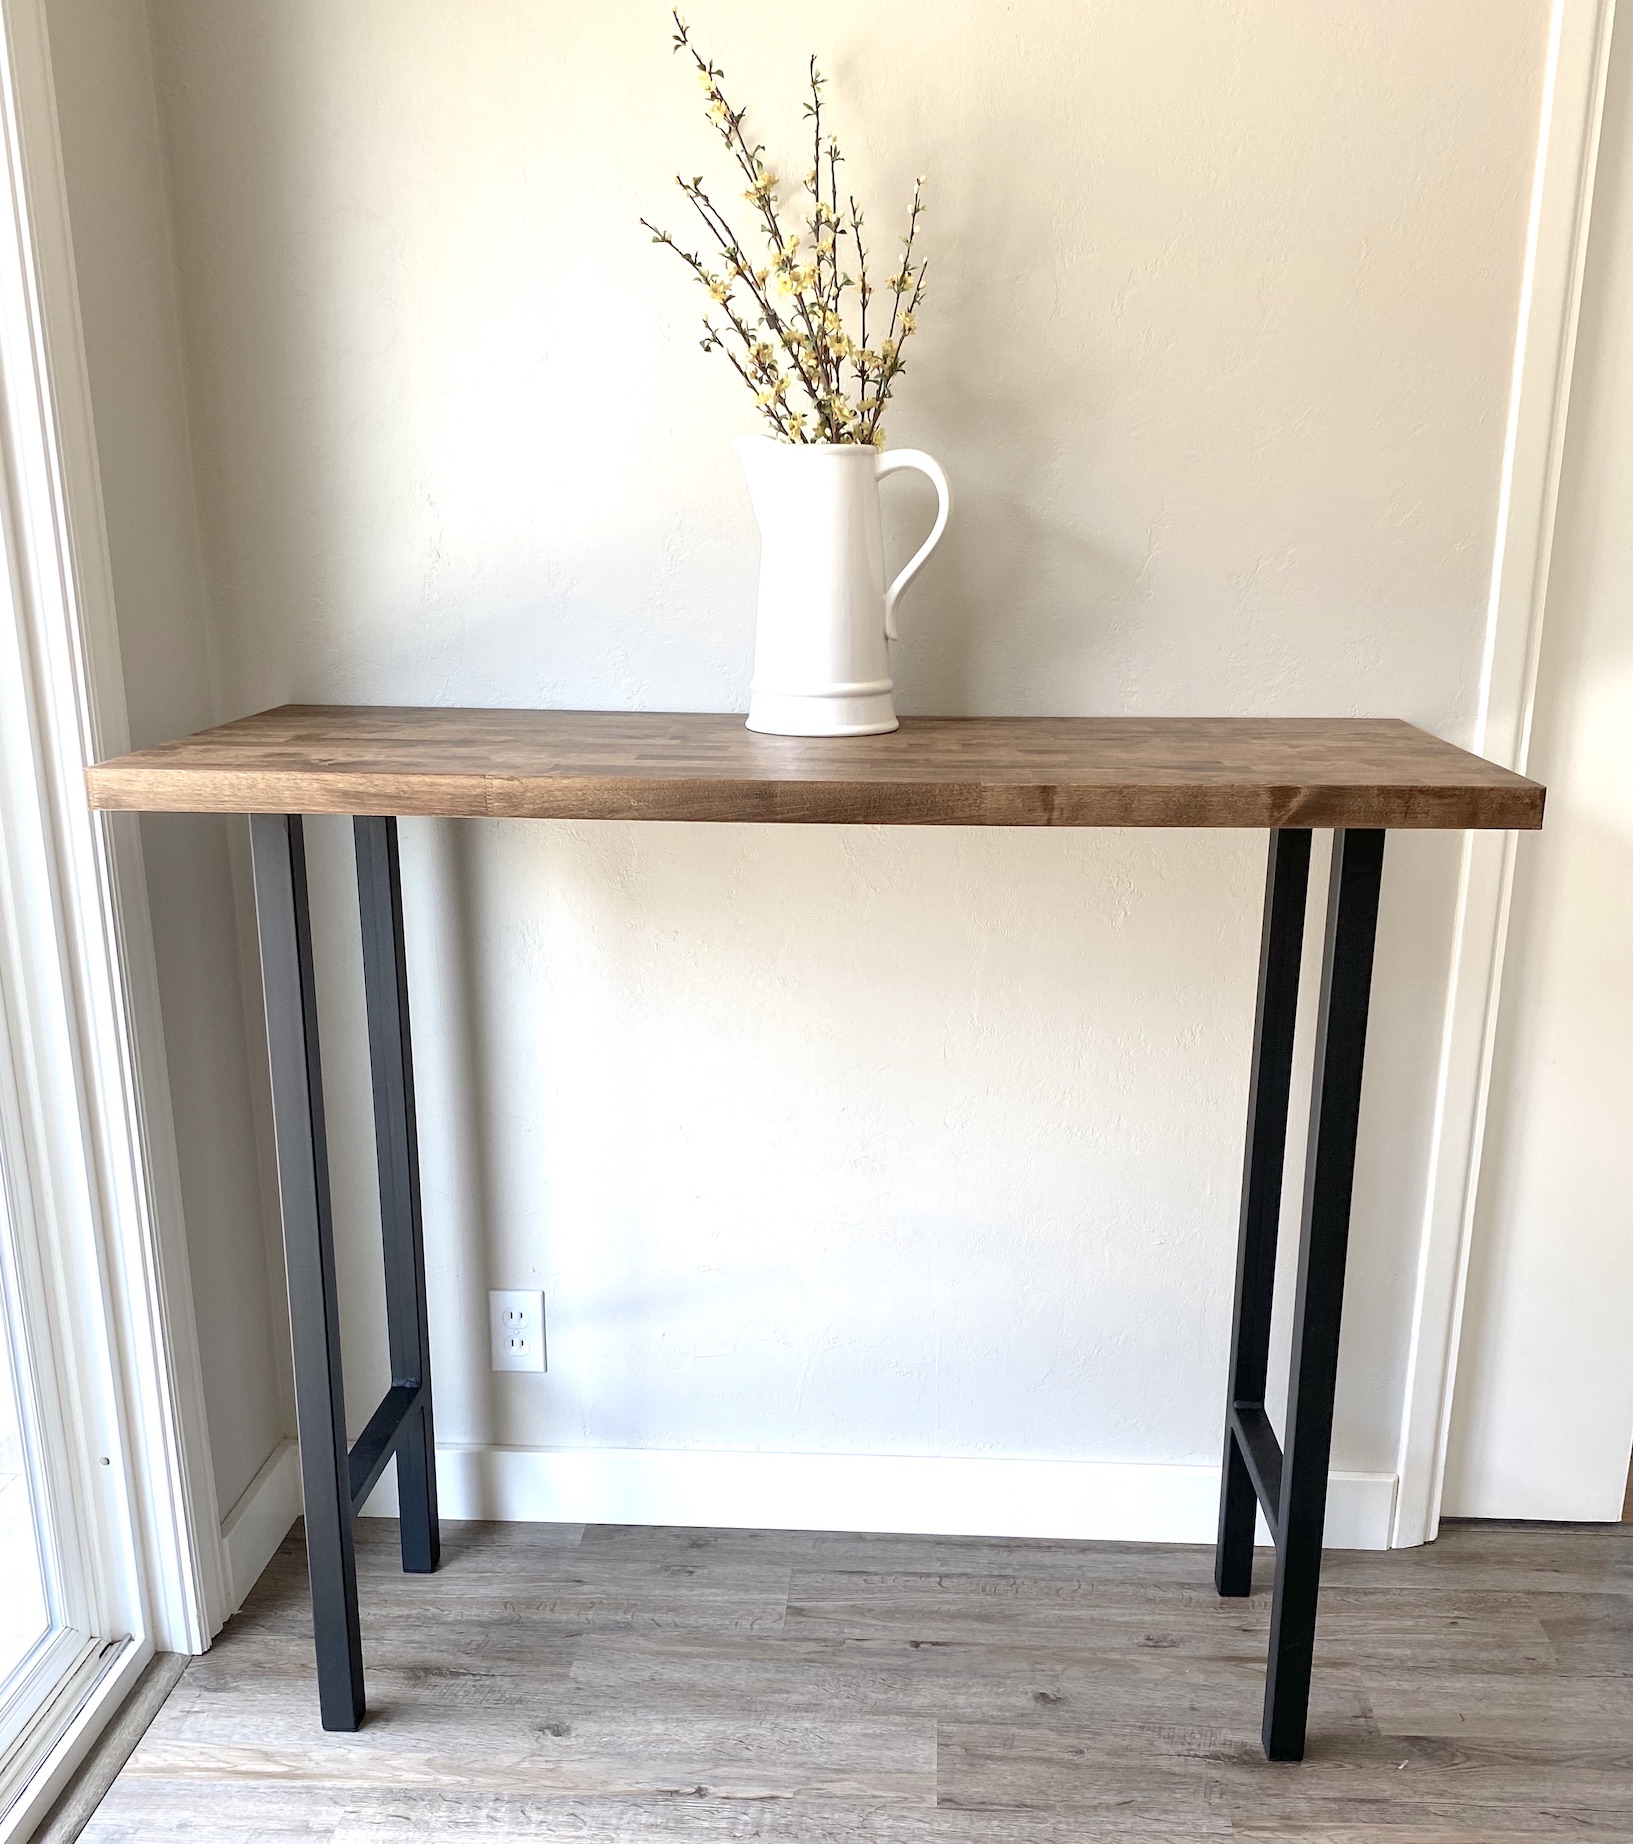
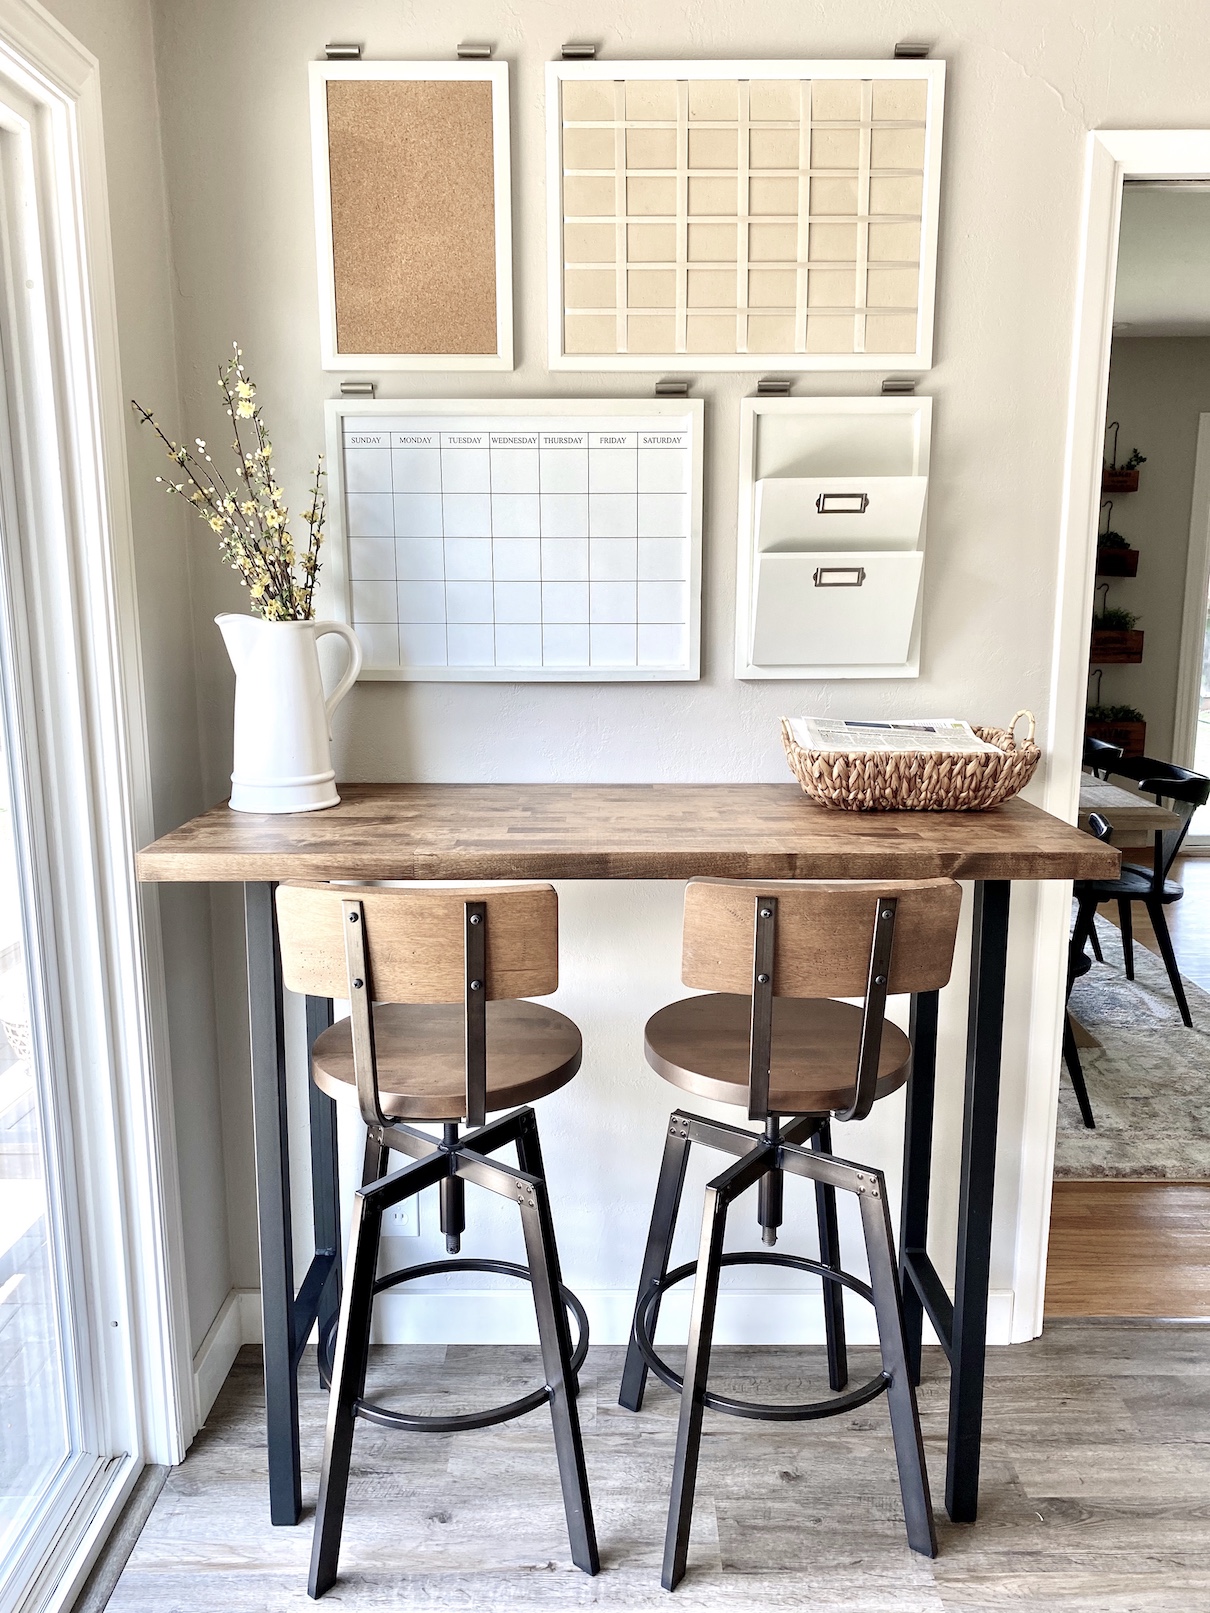
Time to flip the table over and put it in place. That’s it – just 4 easy steps for this DIY kitchen table! This was such an easy project, and the table looks fantastic! Here are the after pics.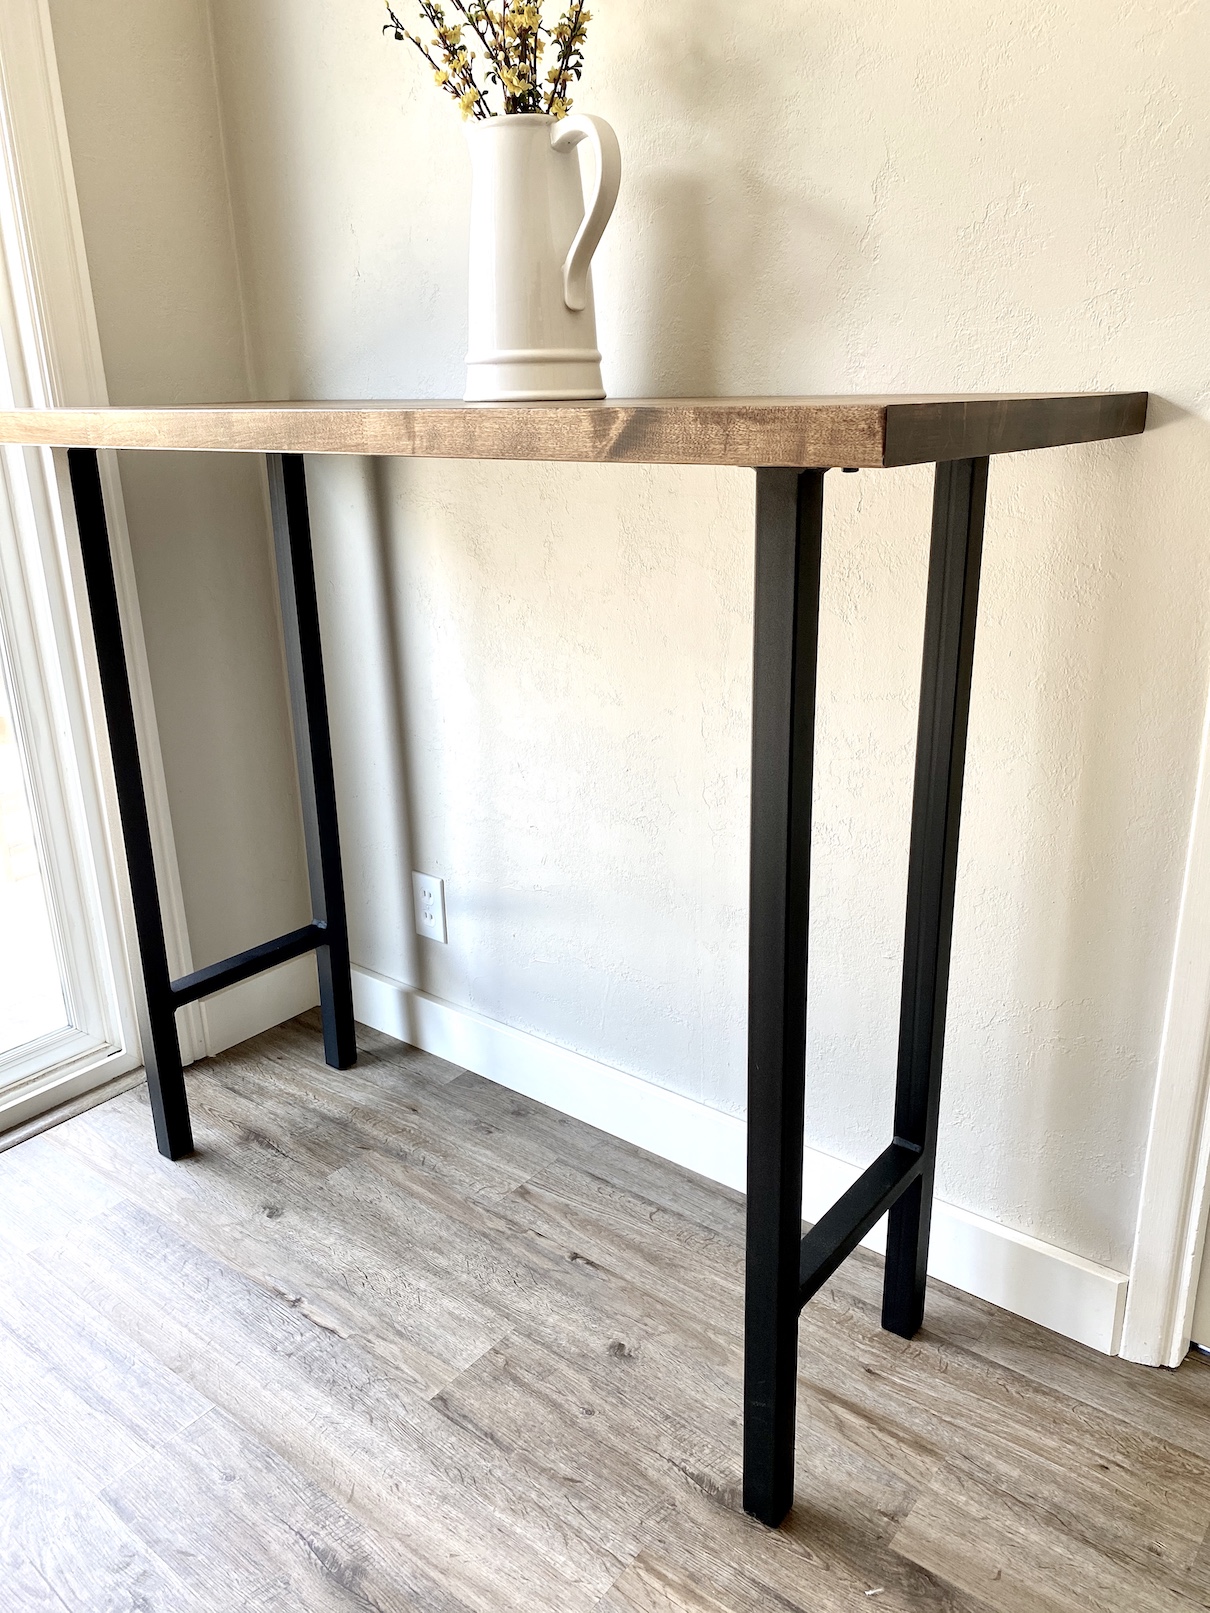
The table looks great with the barstools – like they were made for each other!
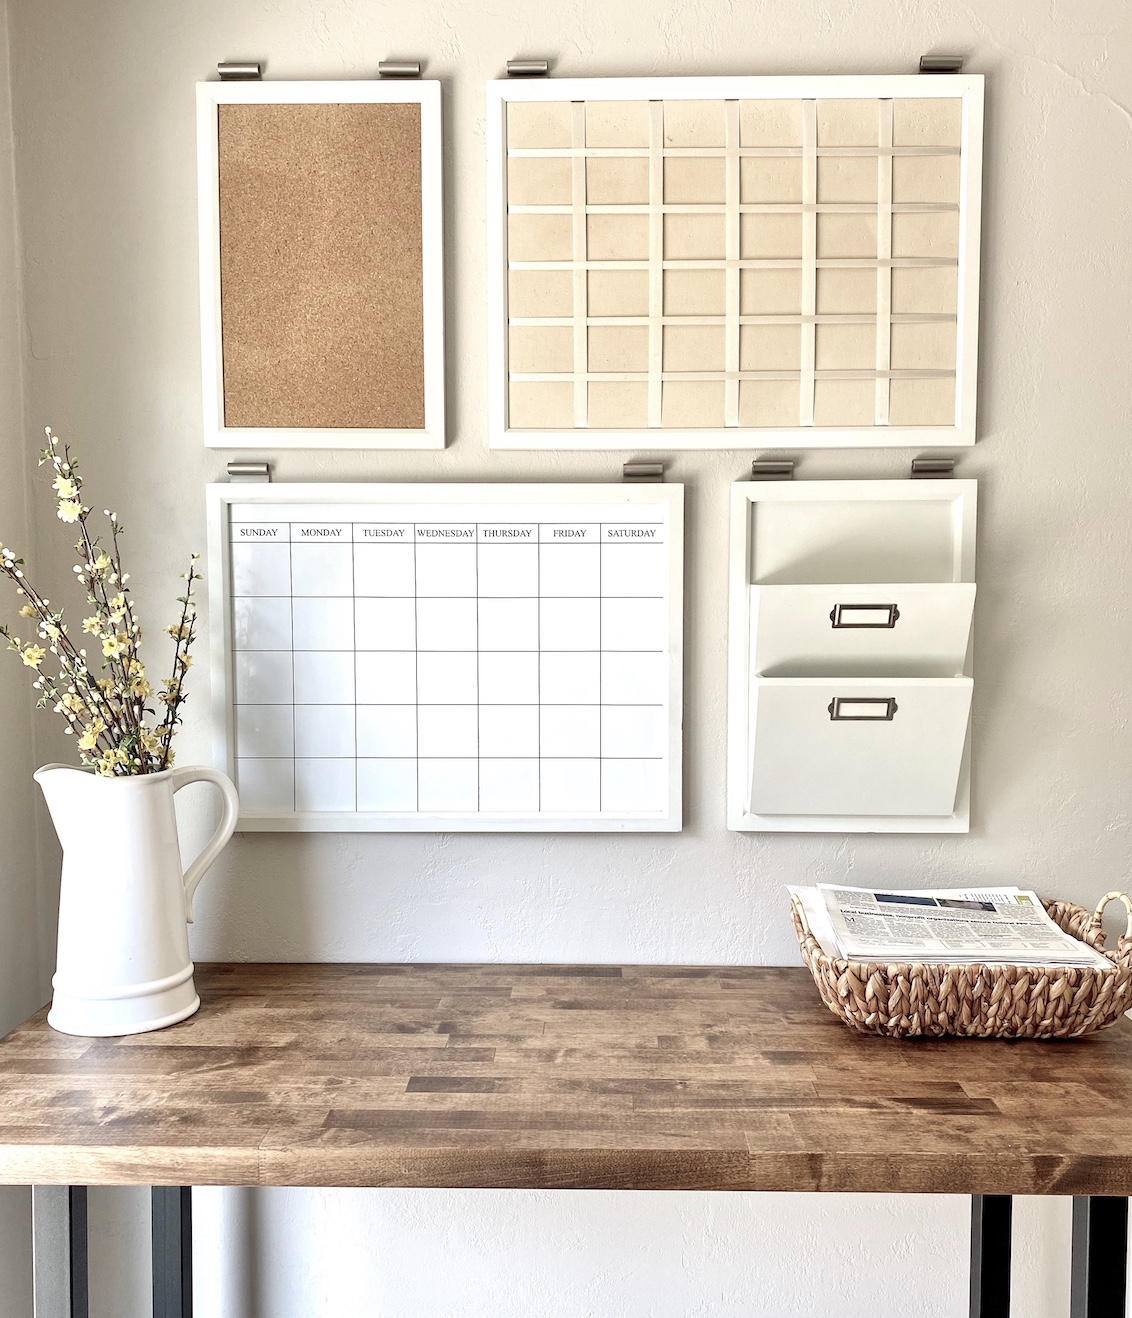
I always planned for this little nook to double as a command center, so I hung our organizer system and now we’re ready for the Fall.
Check out more of our DIY projects and tutorials here. Want some FREE decorating and design resources? Just visit our Resources page.

[…] WELSH DESIGN STUDIO . COM […]