So, how did my first experience with milk paint go? Ummm…not good.
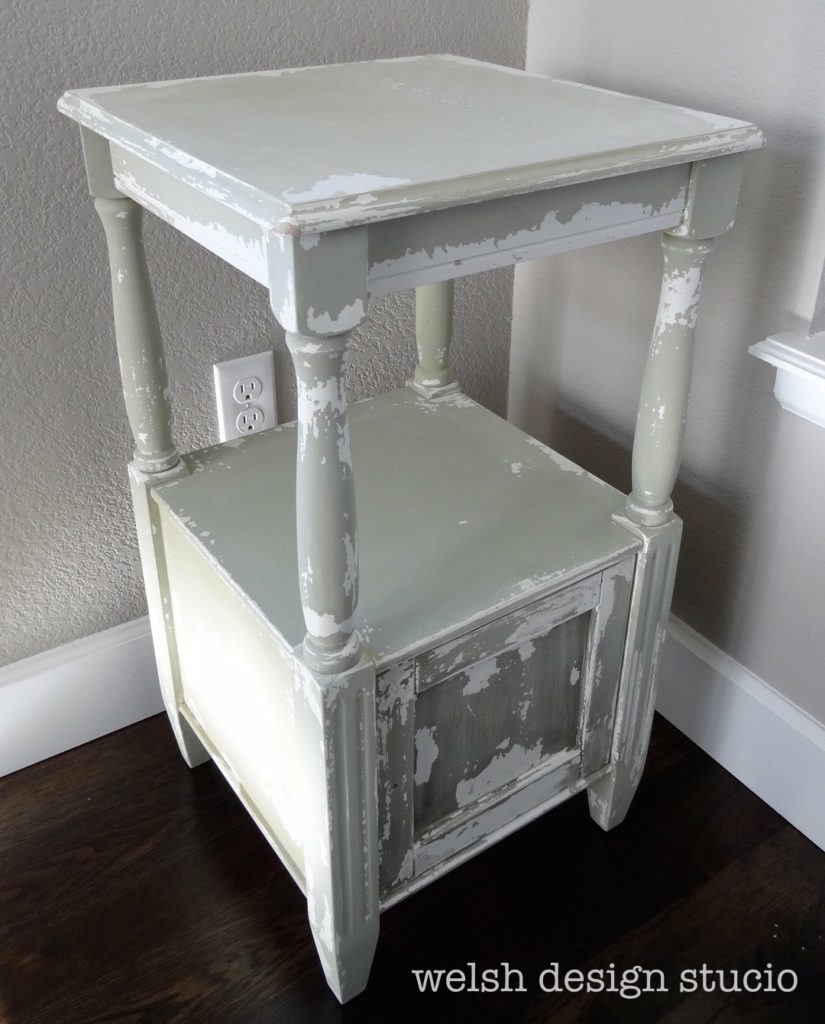
I mean, there are parts of it that are not horrible. But, this was definitely not the look I was going for. I wanted to control the distressing, and instead the milk paint chipped so badly that I was left with a half painted nightstand. I tried to recover it using antiquing wax (on the door), and that just made it ten times worse. Sigh.
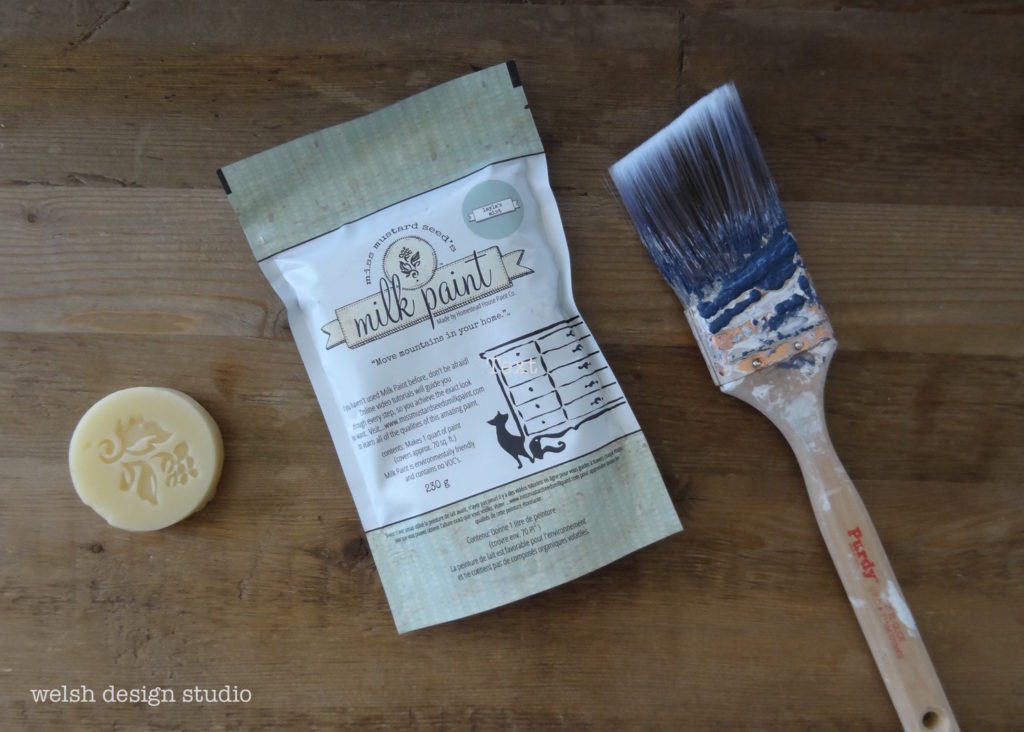
I started out so very hopeful about this project (see previous post). I had my Miss Mustard Seed’s Milk Paint in Layla’s Mint![]() and other supplies all ready to go. In the end I decided not to use the wax puck (thank goodness), because there would have been even less paint on the nightstand!
and other supplies all ready to go. In the end I decided not to use the wax puck (thank goodness), because there would have been even less paint on the nightstand!
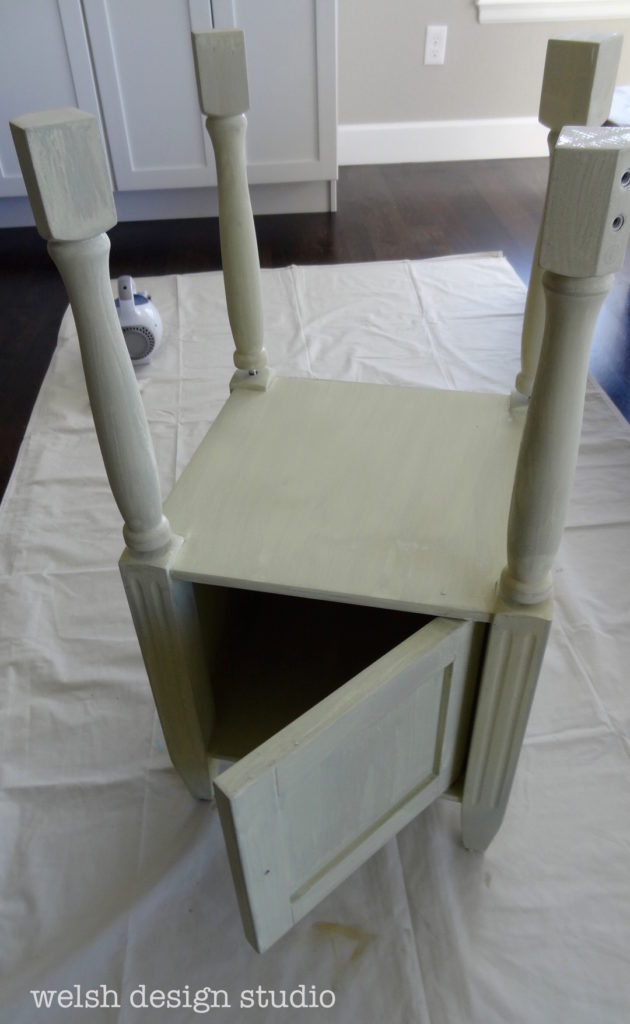
Prepping the Nightstand
I had roughly sanded up my nightstand so that the milk paint would adhere, as was recommended by many sources. The bubble on the top of the nightstand was easily sanded away, too.

Mixing Up the Milk Paint
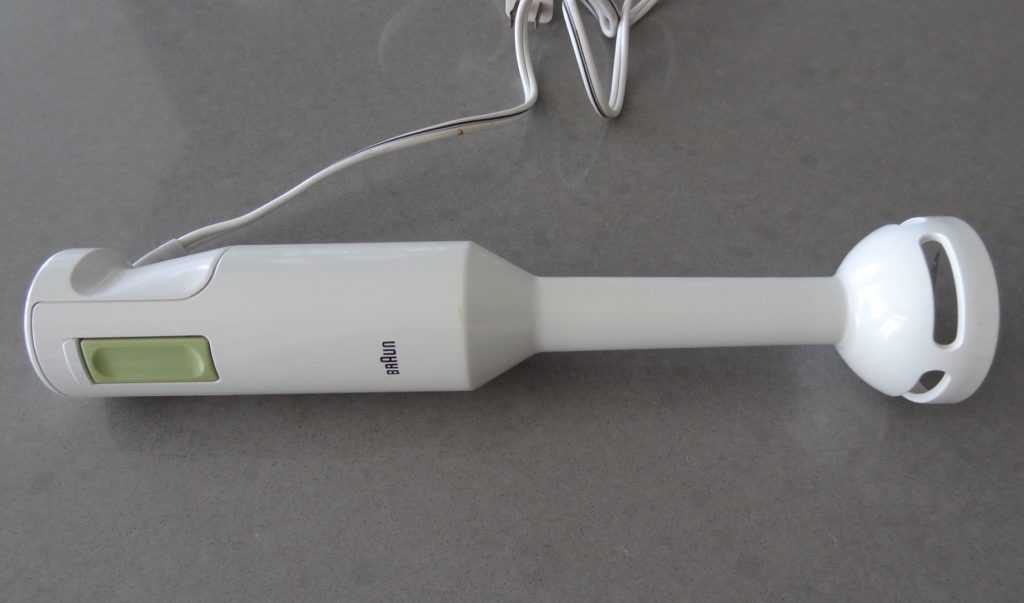
I mixed up the milk paint using a hand blender (which was recommended by many milk paint users), and let it sit for the required 15 minutes. This milk paint is definitely thinner than other paints I am used to working with.

The First Coat
Here is the nightstand after the first coat. Marian from Miss Mustard Seed always says to have patience with the first coat, because it won’t look good. The second coat is where the magic happens. I was feeling pretty good about the way things were going at this point.
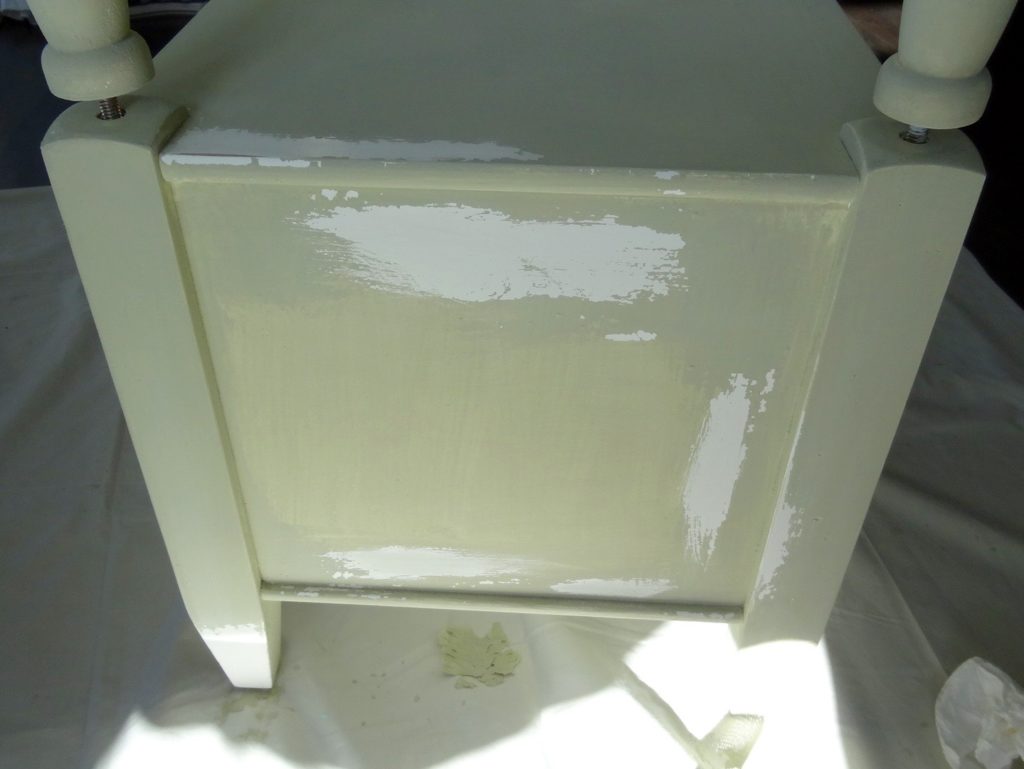
But here is where things went terribly wrong. After the first coat dried, I found areas of paint literally falling off in sheets.
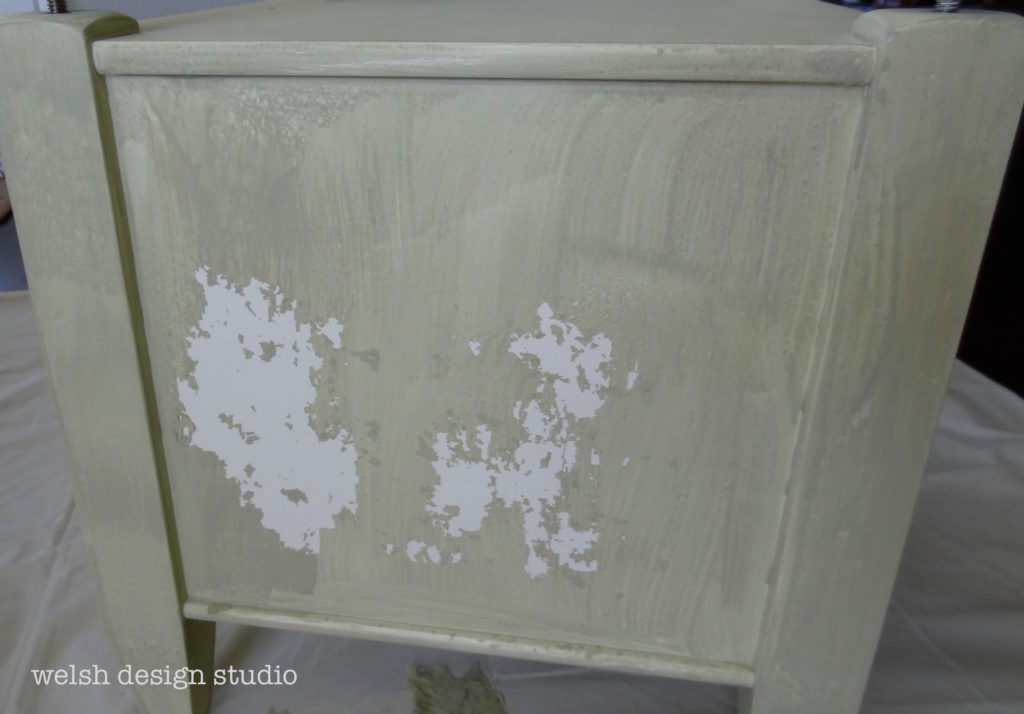
More Coats
It was like that all over the piece. [Insert lots of profanity here.] So, I sanded off the chipping paint and sanded the area some more, figuring that it just wasn’t rough enough in some spots for the milk paint to adhere. I applied a few more coats.
The second and third coats continued to chip! And then I had to mix up another batch of milk paint, and the color just did not match. Grrrrrrr! See the color difference in the picture below?

So, I cried a little bit and gave up for the day. I knew I had to salvage this project somehow, so I decided to give milk paint another try and order the Miss Mustard Seed’s Bonding Agent![]() , which would ensure the paint would stick the next time. I also had to order another batch of the milk paint itself (Layla’s Mint).
, which would ensure the paint would stick the next time. I also had to order another batch of the milk paint itself (Layla’s Mint).
Next Steps
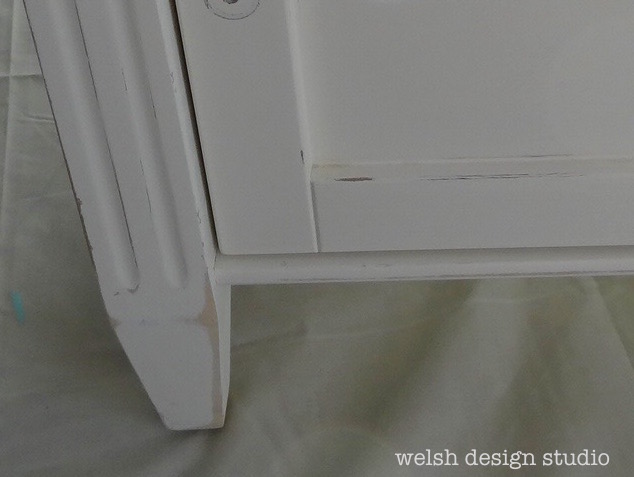
I’ve re-sanded down the chipped areas, and I’m hoping the milk paint and bonding agent will be able to cover the nightstand completely. I admit I’m not feeling very confident about how this is going to turn out, but I’m willing to give it another shot.
I’ll write another update once I try again with the bonding agent. This experience has been soooooo frustrating, but I guess that’s just the way these things go sometimes. Milk Paint Tip for Readers: Always use the bonding agent with milk paint, so that you control the distressing process!
See more posts in this series: