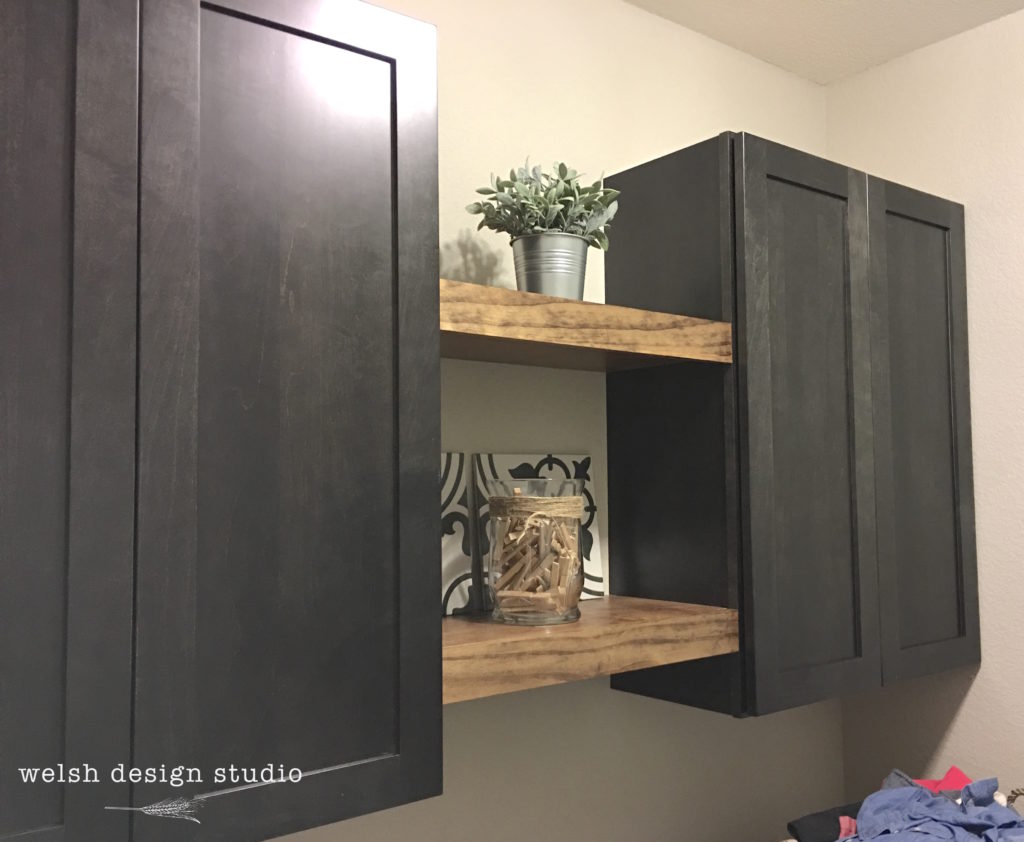
Hi everyone! Hope you’ve all had a great weekend so far! We’ve been hard at work in our laundry room this weekend. We made and installed some DIY floating shelves between the two laundry room cabinets, and painted the room a fresh new color – white!
Yep, white! When we built our home, the builder painted every room in the house the same color (Sherwin William’s Collonade Gray). I love this color, and it works really well as a whole-house gray, for the most part. However, our laundry room is dark and has zero natural light, and the gray paint made the room look very drab and dull. I wanted it to look clean and bright, and I wanted a strong contrast between the black cabinets and walls. The white paint instantly brightened the room, and looks great!
Moving on to the shelves! When I ordered my cabinets, I knew I wanted to leave a space between them for showcasing our patterned tile and then add floating shelves. We thought about putting in a hanging rod between the cabinets, rather than shelves, but soon realized it would be difficult to reach with the countertop installed. To be fair, the shelves won’t be easy to reach either, so they will be more decorative than functional. But don’t let that fool you! These shelves are sturdy and strong! In this post I’ll share with you the steps we took to create our DIY floating shelves.
Before
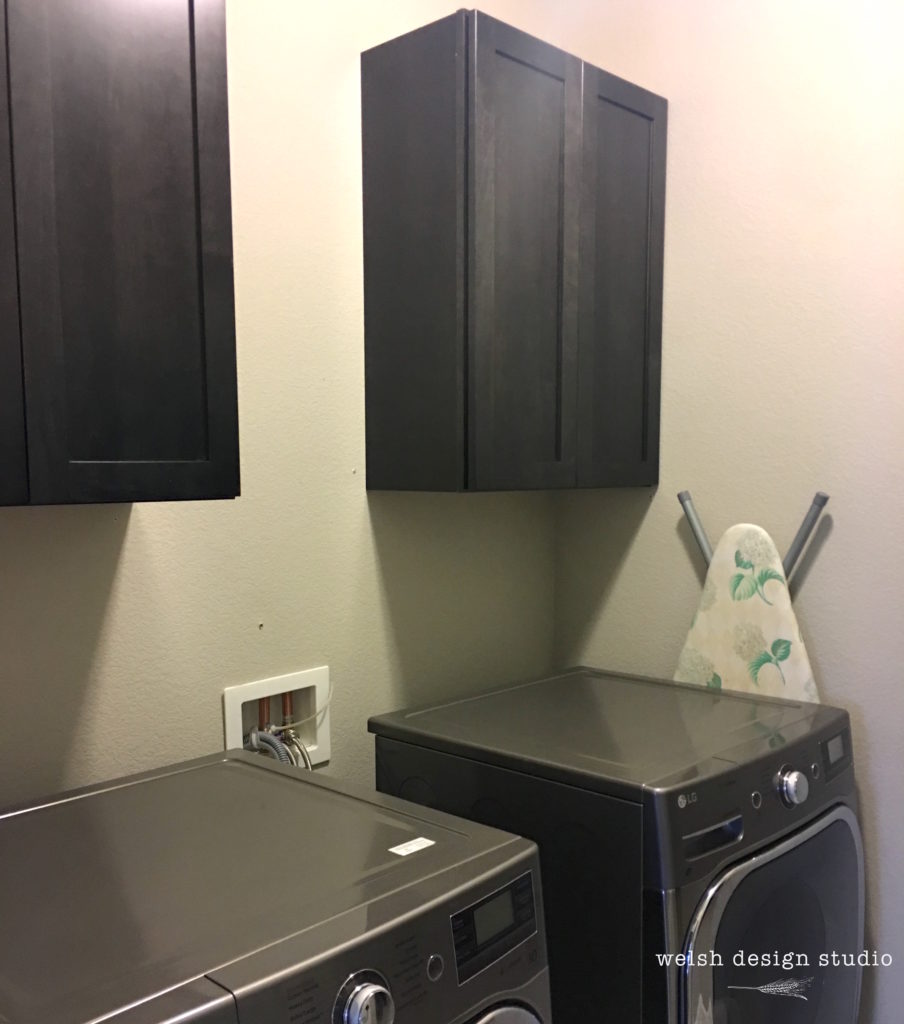
As a reminder, here is what our cabinets looked like before we added the shelves:
Supplies You Will Need
- 1×2 common pine
- 1/4″ birch plywood
- 1×3 premium pine
- wood screws
- nails
- wood glue
- stain
- polycrylic top coat
- drill
Step #1
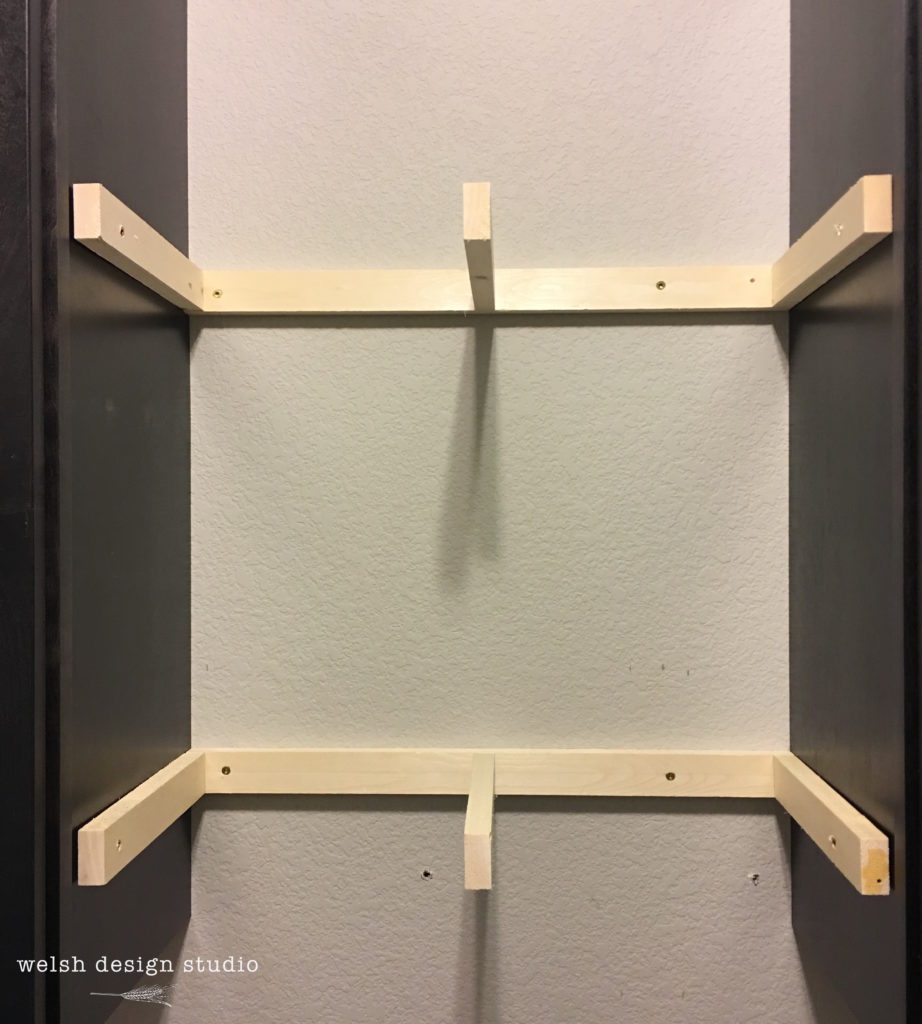
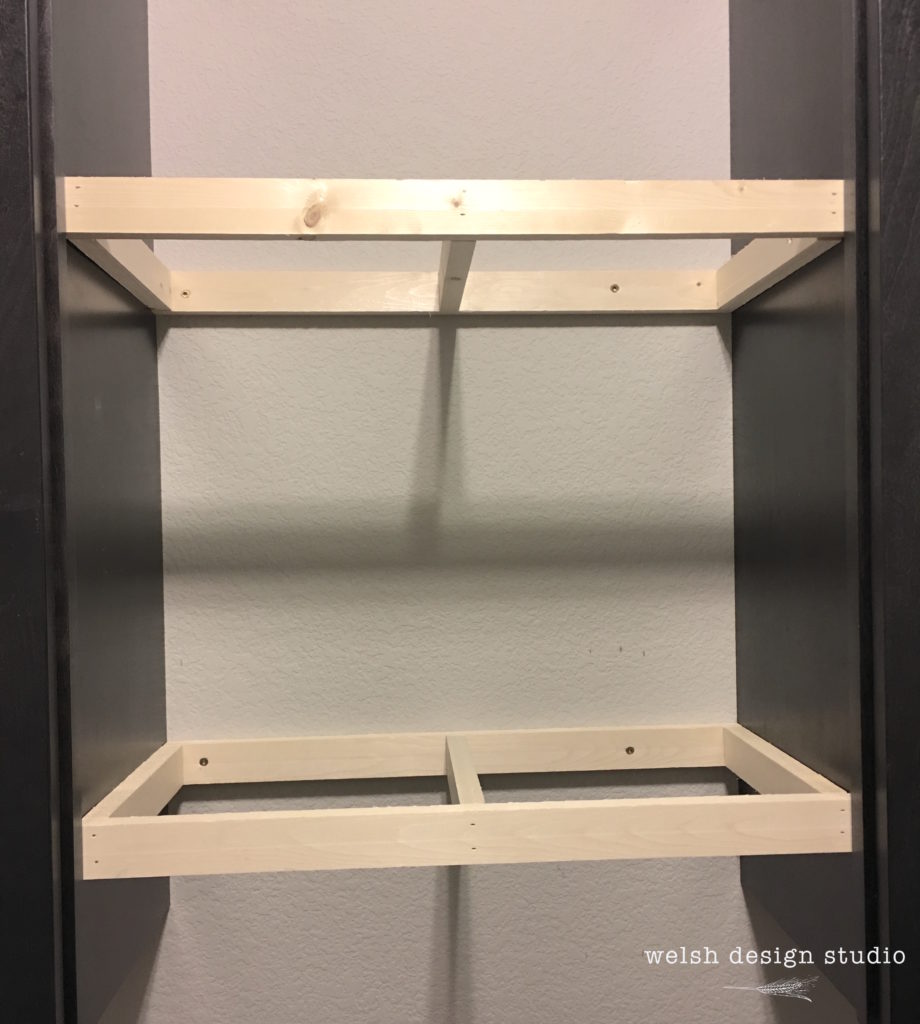
Measure the distance between cabinets, and cut two 1×2 pieces to the desired length. Measure the depth of the cabinets, and subtract 2.25″ (to account for the thickness of the front and back 1×2 pieces, and the 1×3 trim piece that will be attached to the front). This will give the length of the center 1×2 pieces that provide the support for the shelves.
Step #2
Attach the 1×2 center support pieces to the back piece using wood glue and wood screws. Don’t attach the front piece just yet! Make sure to pre-drill so as not to crack or splinter the wood.
Step #3
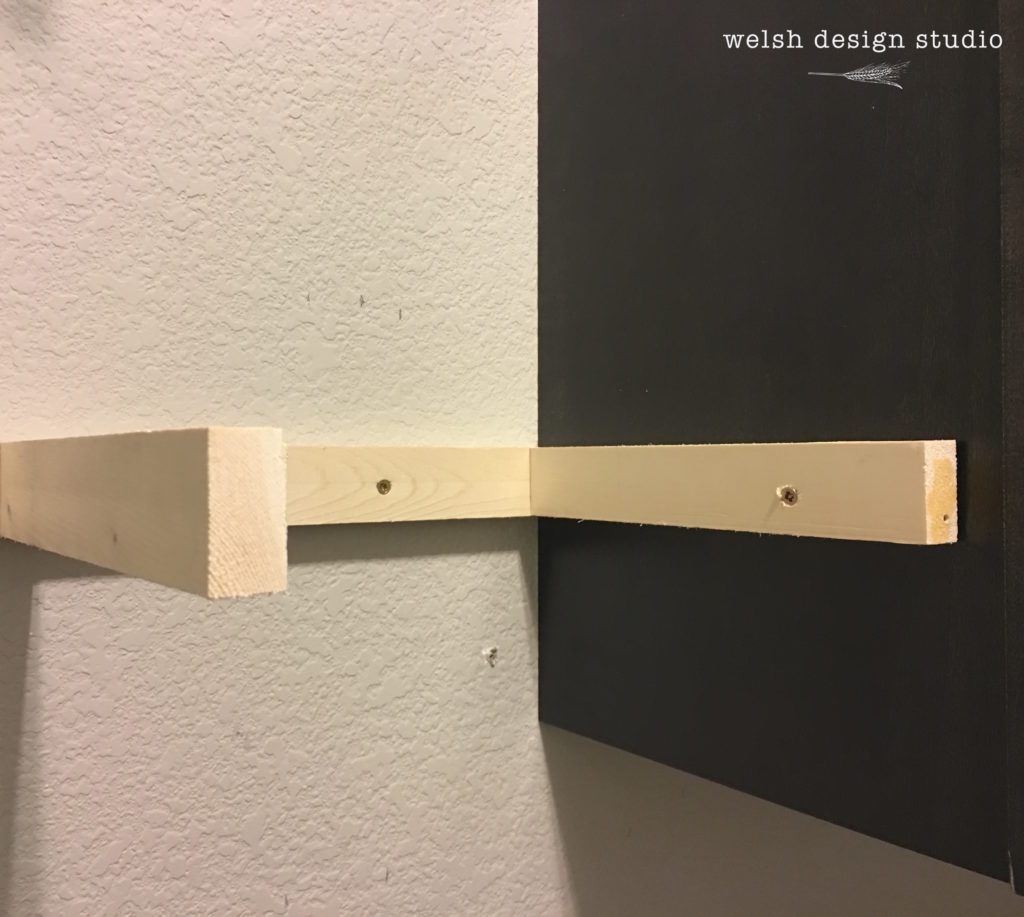
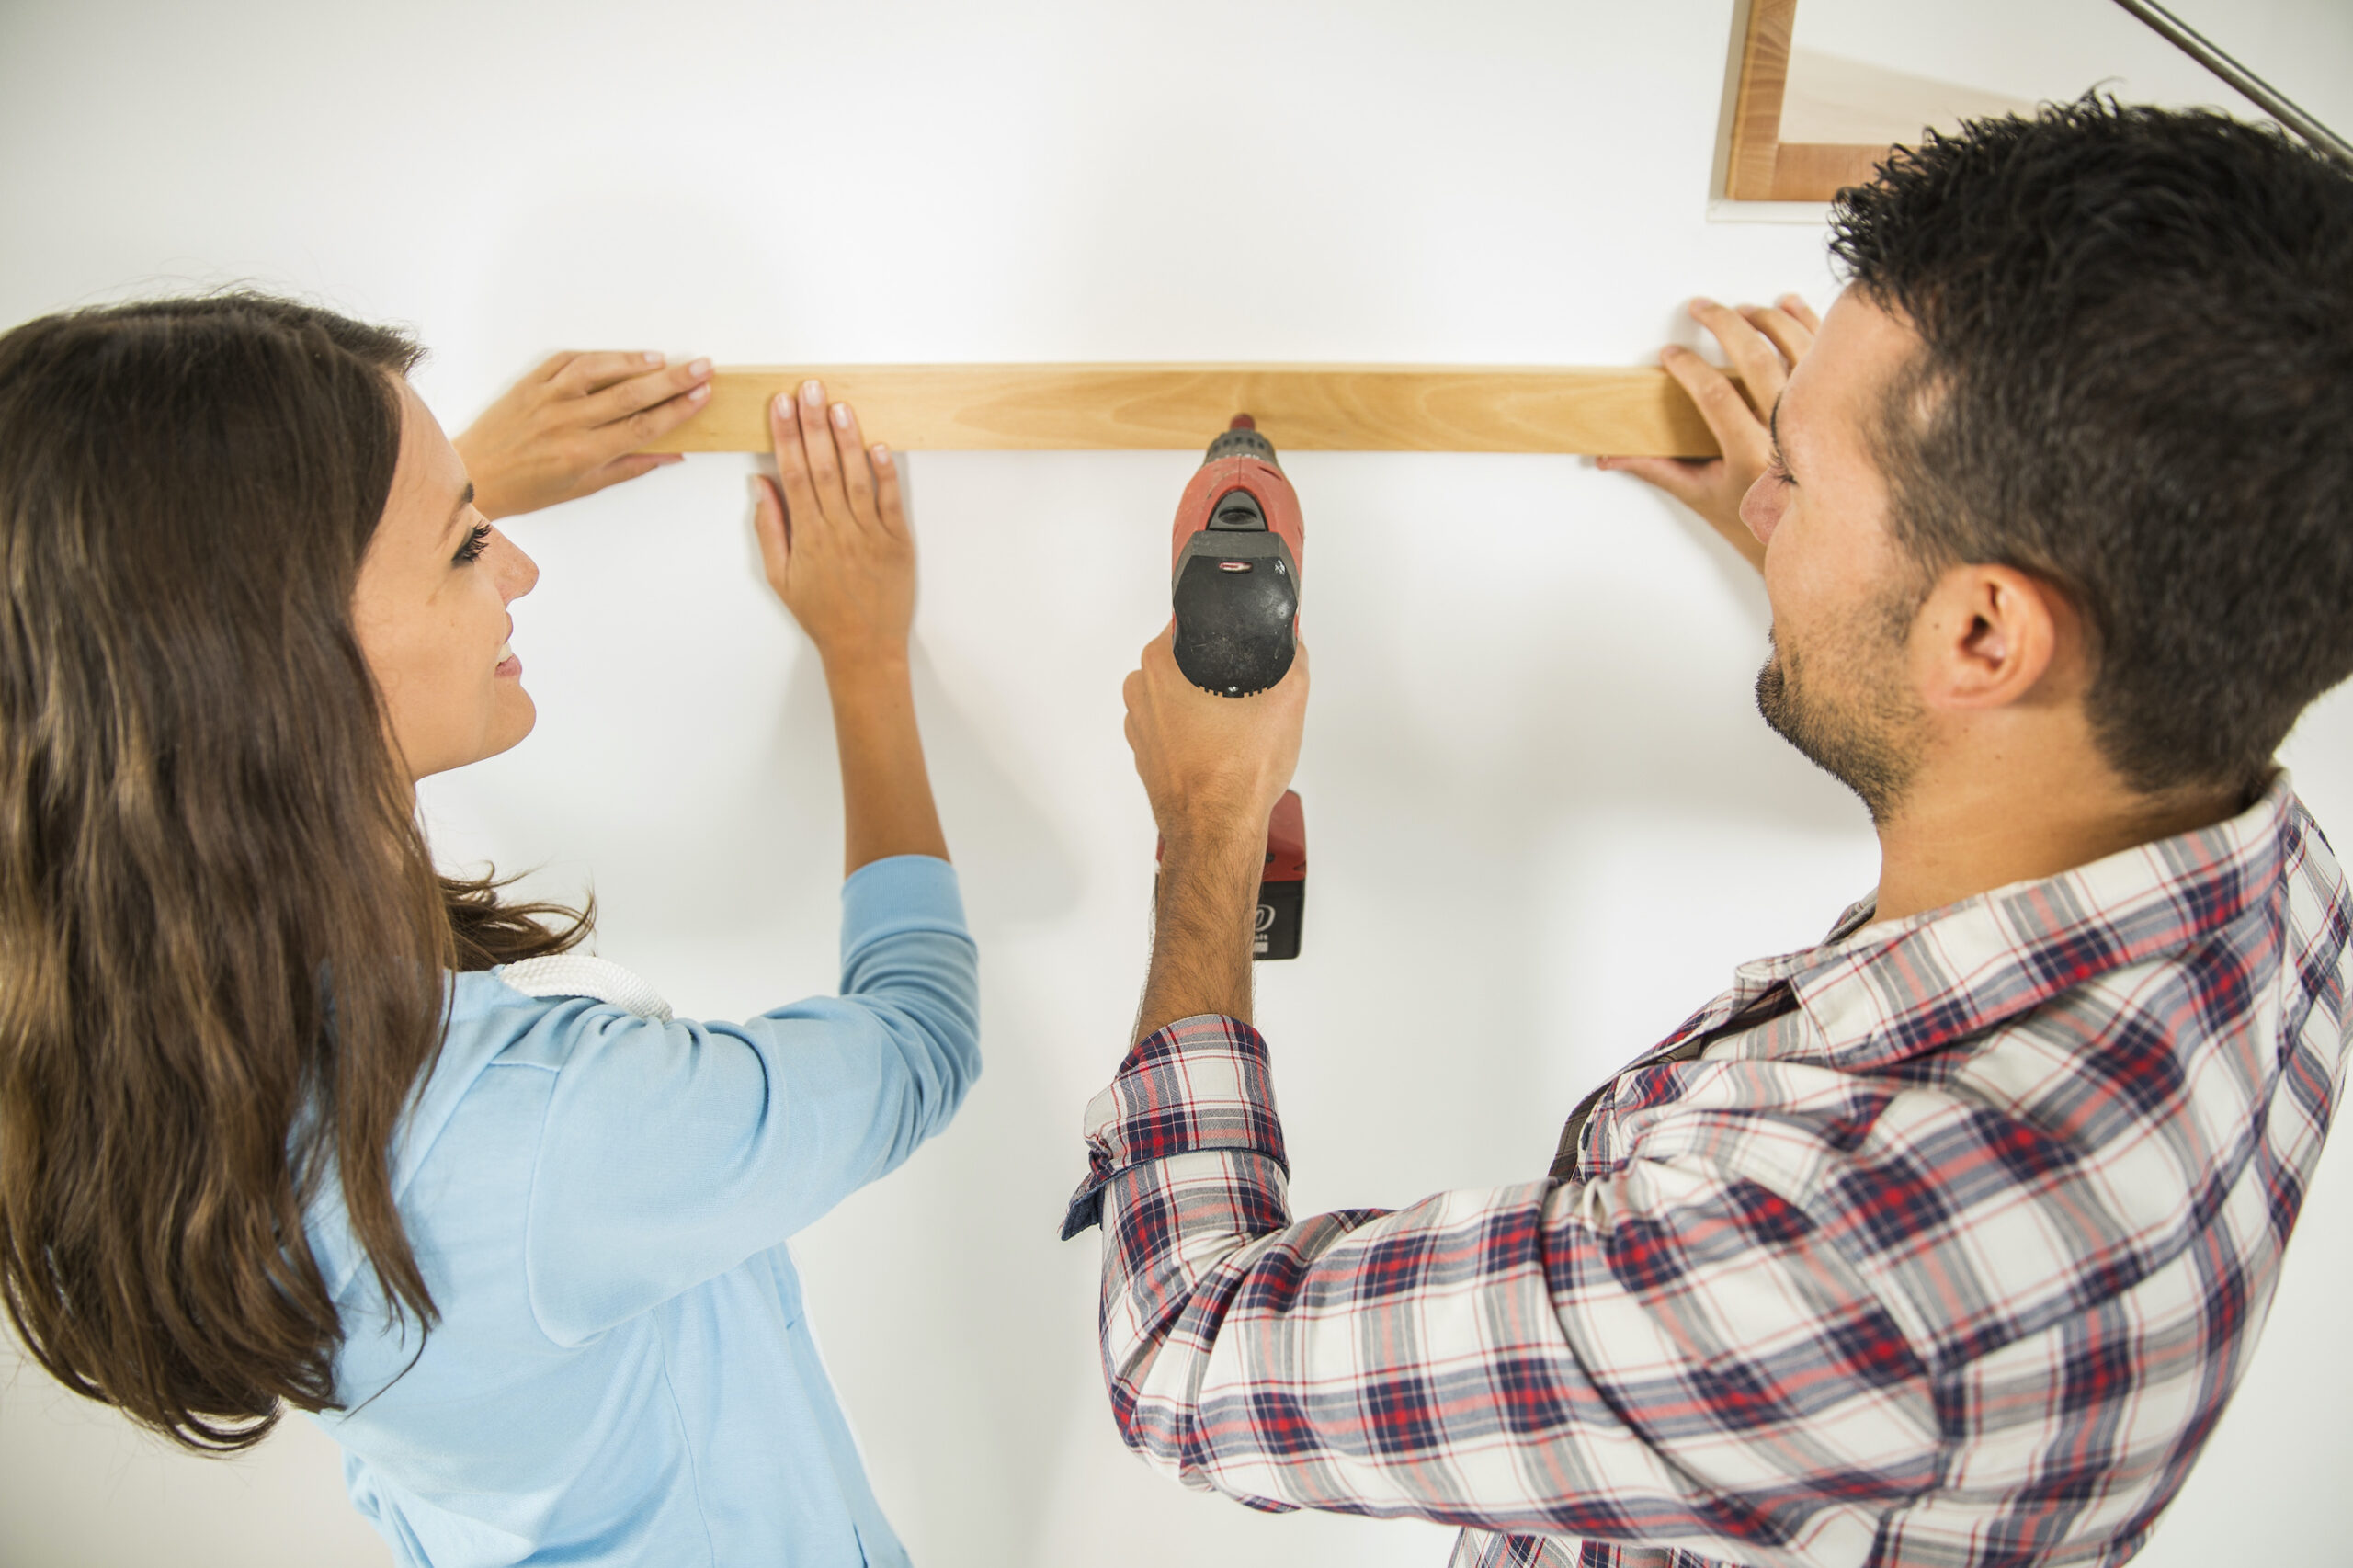
Locate wall studs, and screw the assembled back piece and center supports into the studs in the wall (we used 2.5″ wood screws). We pre-drilled for this step, too. If your studs are not in convenient locations, or you can only attach to one, you may have to use drywall anchors and screws for this step.
We also put two short screws into the sides of the cabinets to make the shelves extra sturdy. Finally, attach your front piece to the center supports (again, make sure to pre-drill first).
Step #4
Cut two pieces of plywood to fit over the top and bottom of the 1×2 frame. Cut 1×3 trim piece to fit on the front of the 1×2 frame. Our 1×3 was a little shorter than the overall frame, because the front of the cabinets are about a 1/4″ wider than the rest of the cabinet (this is typical).
Step #5
Stain the plywood and 1×3 trim pieces. You will only need to stain one side of each plywood piece. We used Minwax Wood Finish in Provincial, and wiped the stain off immediately after applying to keep the color fairly light. Next, we applied two coats of Minwax Polycrylic Protective Finish (Matte)
to each piece, and let dry.
Step #6
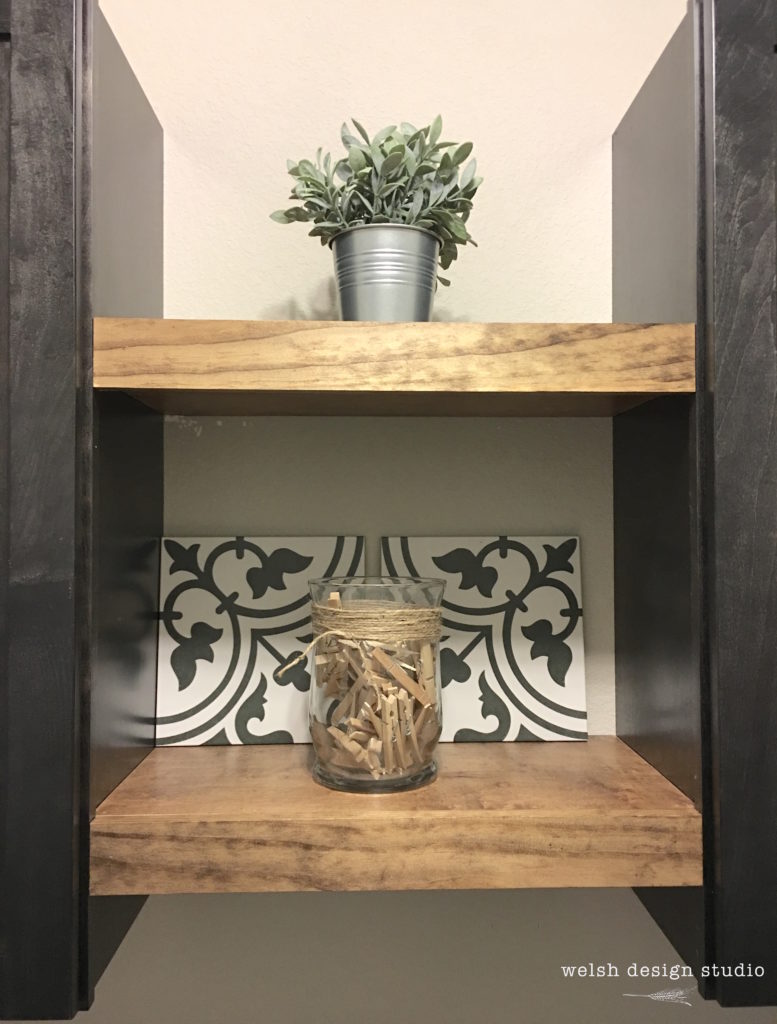
Once your plywood and 1×3 pieces are dry, attach to the 1×2 frame using nails. We have a nail gun, which is by far one of the best tools we have ever purchased! But, you can use a standard hammer and small finish nails, too. You might even be able to glue the plywood pieces to the 1×2 frame, if you can weigh it down, or clamp it in place while it dries.
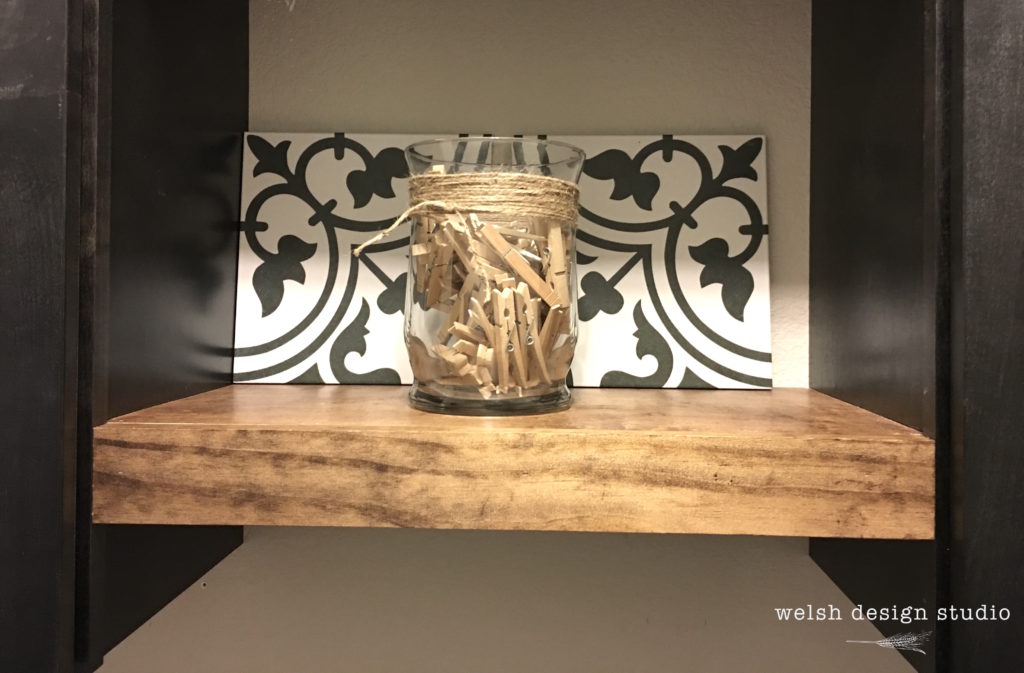
After
And there you have it! Just repeat the process for the number of shelves you need, and you’ll have beautiful DIY floating shelves. If you want your shelves to stand alone (not wedged between cabinets), you can use the same process, but simply cut and stain two more 1×3 pieces for the sides of your shelves.
Up next…installing our patterned tile! You can see it resting on the shelves in the pictures above. It’s going to go all the way up the laundry room wall, and in between the shelves, to the ceiling. This laundry room is really starting to come together!!!
UPDATE: See the final reveal here.
This post was featured at:




So neat!
I would love for you to share this with my Facebook Group for recipes, crafts, tips, and tricks: https://www.facebook.com/groups/pluckyrecipescraftstips/
Thanks for joining Cooking and Crafting with J & J!
I really like how this turned out. I am currently planning a renovation for our rental house where the kitchen and laundry are combined and need lots of ideas on how to make it function better AND looked pretty. Thanks for sharing. Visiting from Waste Not Wednesday
I like the shelves. We ended up putting a rod between the cabinets which is handy. This is much more stylish.
Looks great – good job!
Great job! The floating shelves between the cabinets break up the solid line of the cabinets and provide a place to display attractive accessories. Plus- they’re practical for storage, too. Your laundry room is looking so good!
Carol (“Mimi”) from Home with Mimi.com
Oh!! The shelves are awesome! Such a great way to use up the space!
These shelves look gorgeous, I love the wood grain. The white paint is perfect for a dull darker room. Your laundry room looks great.
Great job on these. Pinning and featuring them at our link party tonight, also sharing on FB this week. Have a great week!
These turned out so fabulous!! Can never have enough storage and shelving in the laundry!
Thank you so much for sharing your project with us over at Waste Not Wednesday!
Super cute! Thanks for sharing them with SYC.
hugs,
Jann
These shelves are awesome. I love a good laundry room upgrade and you did it extremely well. Thanks for sharing it with us at the Waste Not Wednesday Link Party.
Wow, what a fabulous job. I love floating shelves, but in our home, not sure where to put any.
Question. Do you have a tile post? I’ve found all other posts for this project.
Is there a reason you didn’t the floating shelves before tiling?
No, sorry, we didn’t create a post about installing the tile. The reason we installed the shelves first was that we were initially just going to tile up to the bottom of the first shelf. However, we liked the look so much that we decided to just take it all the way up. Since the shelves were already installed, we had to tile around them.
Do you know approximate heights/spacing for your shelves? Are your ceilings 9 ft? I am having a hard time deciding where to have 2 shelves installed between 42″ cabinets with 9 ft ceiling.