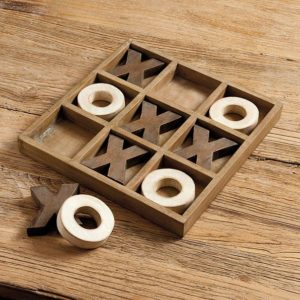
Today I finished a little project I’ve had in the queue for months. I’ve been wanting to make a DIY tic tac toe board for our basement coffee table for a long time, and it should have been fast and easy, but it took forever!! It all started when I saw this cute tic tac toe board in the Ballard Designs catalog.
So fun! I wanted one for our coffee table, but wasn’t about to shell out $79 for one. Yes, that’s right, $79. Yikes!!! I knew I could make something similar for much less. So, I took a trip to Michael’s, and found an unfinished divided tray that was just perfect for Tic Tac Toe. I also found some chunky X and O wood letters that fit in the squares. So, what’s the problem, you ask?
Well, there were only a couple of O’s and just one X available that day. I bought them and checked at another Michael’s later that week…nothing. I looked online. They had the letters online, but the X’s and O’s were all sold out. My local stores never got any X’s or O’s back in stock. Michael’s online finally got some O’s in stock two months ago, and then just last week the X’s came back in stock. Someone out there must be buying up all these letters! So, if you’d like to make a similar board, I will tell you that you might have to wait very patiently for the letters, or find another alternative.
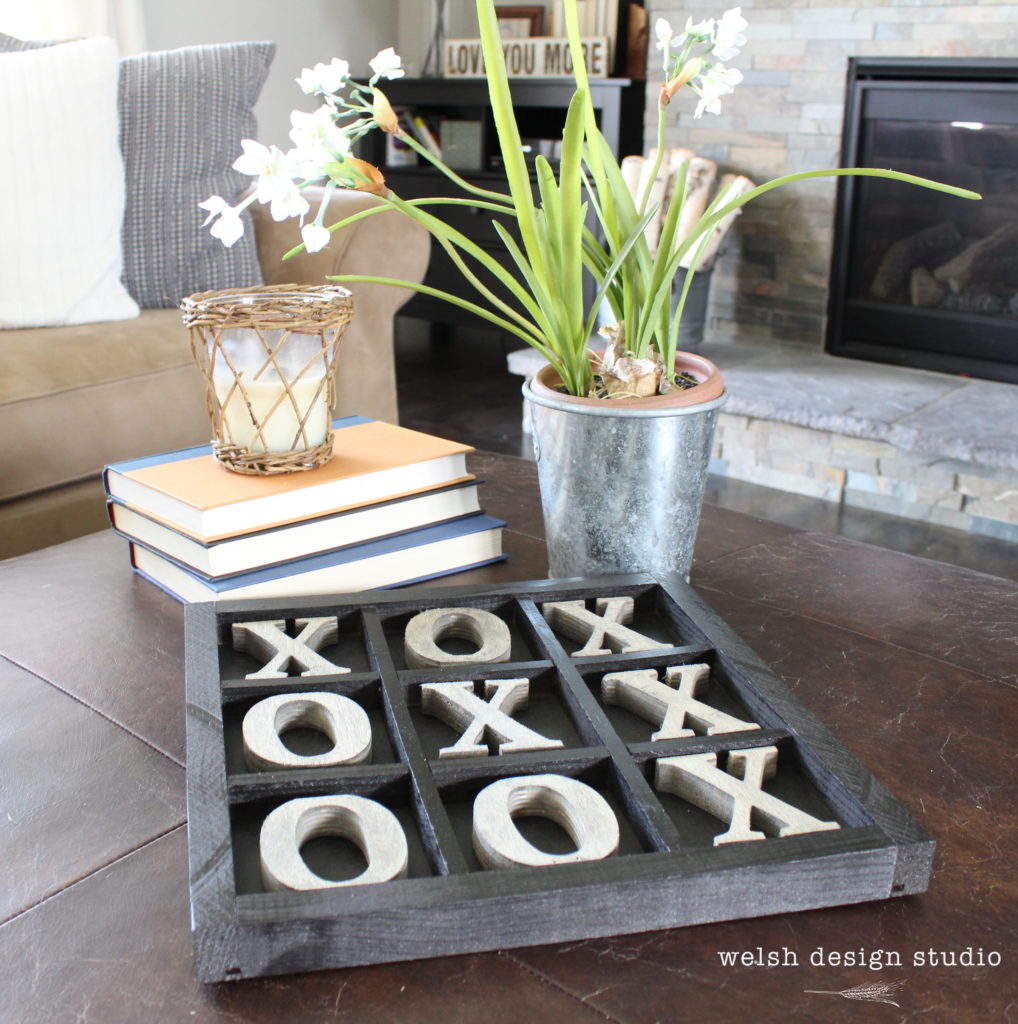
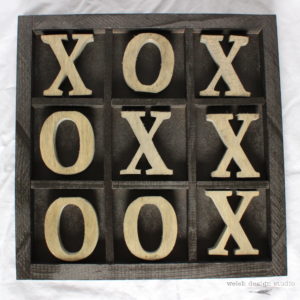
Now that you’ve heard my wood letter sob story, let’s move on to showing off the finished product that took so long to complete! OK, let me clarify…the waiting took months, but the creating and finishing only took about two hours. And the best part? It was under $30 to make!!!! Here is my rustic DIY tic tac toe board:
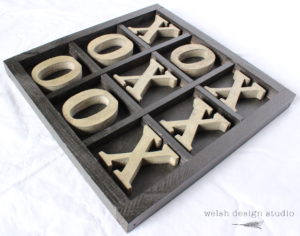
And, here is a tutorial for how to make the tic tac toe board…assuming you can find the letters, of course :-).
Supplies:
Disclaimer: This post includes affiliates links, which means that if you click on the links and buy the products, I will receive a small commission on the sale (at no cost to you). Please know I would never recommend a product that I don’t use myself. Happy crafting!
- Divided wood tray w/ 9 squares (I bought mine from Michael’s, but I don’t see an online link, so check in stores)
- ArtMinds 3″ Chunky Wood Letters (5 X’s and 4 O’s, or you can have more O’s if you like.)
- Spray Paint
- Wood Stain
- Polyurethane (satin finish)
- TIP: Use Michael’s coupons, or wait for a sale to help bring the cost down!
Instructions:
- Spray paint your divided playing board in whatever color you choose. I used Rust-Oleum Universal All Surface Spray Paint, Oil Rubbed Bronze Metallic
, but you could use any color for a fun change. Spray paint color options are practically unlimited these days.
- Stain your letters. I used Minwax Wood Stain in Weathered Oak so that I could get a nice weathered, rustic look. You can use two different colors of stain for the X’s and O’s, if you want.
- Put 1-2 coats of polyurethane finish on each letter. I used Minwax Fast Drying Polyurethane Satin, 1/2 pint
- Let dry, and play some tic tac toe!!!
Super easy to make, and so much fun for the family! This DIY tic tac toe board would make a really fun gift, too. Glad I finally finished this little project, but seriously, who is buying up all of the X’s and O’s at Michael’s?????
See this and other fabulous projects at the following link parties:
- Abbotts at Home
- Suburban Simplicity
- Coastal Charm
- Julie’s Creative Lifestyle
- Create With Joy
This post was featured at:
Redo It Yourself Inspirations, Ms. Toody Goo Shoes, Mother 2 Mother &





It’s as cute to look at as it would be fun to play! Thanks for sharing with SYC.
hugs,
Jann
Thanks! My kids are enjoying it!
I remember when you were actively hunting for the X’s and O’s! It’s great to see the finished product now – really cute.
Yes! I remember showing it to you and telling your about my letter saga! Now we can all finally play it when you visit again. 🙂
What a fun idea! This would be perfect in our yard when when we have friends over. 🙂
Oooh, that is such a great idea to use it out in the yard during a get together! Thanks for the idea, and thanks for visiting!
Hi there! I have been searching for the wooden box to make a tic tac toe board for so long. I searched through Michael’s before, what area did you find the box? Yours turned out so nice!!!
Thanks! I found the box in the unfinished wood area of my local Michael’s, where the wood plaques, signs, and boxes are kept. I’ve looked online and can’t seem to find one at Michael’s or at another store, so maybe I just got lucky! These are sometimes referred to as divided shadow boxes, so you could try searching for that. Good luck, and let us know if you find one someplace!
It looked great before. I love that old, vintage wood look, but I really like the contrast in colors you used. It fits well with your room!
A fun decor item, that would also tempt people to pick up a piece and play the game. 🙂
The kids are certainly enjoying it! I’m gonna follow another commenter’s suggestion, and start putting it outside for parties! 🙂
Such a great idea–l love a good knock off! Thanks for sharing your fun project at Vintage Charm!
I love a good knock off, too! The problem is that I often look at something and think, “I could make that for much less,” but then I can never find the time!
Really great idea and it’s so cute! Thanks for sharing with us at Funtastic Friday!
Thanks Angie!
This is so cute. I want it!
Thanks! I was thinking of selling them in my shop before I had so much trouble finding the letters. Maybe someday… 🙂
What an attractive accessory for your coffee table, and it will amuse your guests, too! Thank you for linking up at The Blogger’s Pit Stop. I’m sharing your link on social media.
Carol (“Mimi”) from Home with Mimi
Thanks Mimi!
Oh wow! What a super cute idea!! I think I’m going to have to copy this for our home! hehe!
Please do! Hopefully you will have better luck than I did finding all the X’s and O’s! 🙂
This board is super cute and I love that you were able to create something so good looking on the cheap. Great project!
Thanks Lisa!
Came over from eighteen25 and was hoping you had a link to the divided wood tray. I remember seeing this tray in April at my local Michaels store.I didn’t realize its potential. When I saw that Sand & Sisal blogger made the tray herself in a June 8 post, I called the store to see if they still had them as I don’t own any tools. They didn’t have any in stock and at that time it was not online either. I was hoping to make some for wedding gifts. I guess I will need to come up with something else as these trays at Michaels are long gone.
My hubby and I have been experimenting with making the divided wood trays ourselves, and will probably have them available for purchase on our shop soon! I was just at my local Michael’s and didn’t see any of the trays there, but I DID see more X’s and O’s in stock!! 🙂
I love, love, love this idea. It would be perfect to entertain my grandchildren or other guests at family gatherings. Thanks for sharing on Sunday’s Best.
Thanks Rhonda!
I love your tic tac toe board you made. It looks great in your house.
Thanks for sharing at Cooking and Crafting with J&J.
Thanks Julie!
This is so fun!
I would love for you to share this with my Facebook Group for recipes, crafts, tips, and tricks: https://www.facebook.com/groups/pluckyrecipescraftstips/
Thanks for joining Cooking and Crafting with J & J!
Thanks! I will check out your Facebook group!
Perfect idea and I love how it looks! Thank you for sharing in Sweet Inspiration Link Party 🙂
https://artdecorationcrafting.blogspot.gr/
Thanks so much!
This is such a cute idea and would love this on a coffee table. Thanks for sharing at the Friday at the Fire Station link-up!
Thanks! We’ve been enjoying it!
Such a cute idea! I’ll have to see if my local Michael’s has the supplies. I’ll be featuring your tic tac toe board at Best of the Weekend tomorrow night!
Thanks Amy!
Thanks for sharing this post on the Simply Sweet Home Blog. You were my choice for this week’s feature. Please be sure to go by and grab your I’ve been featured button.
Thanks Sheree!
What a fun idea! It looks great as a decor piece, too. Thanks for partying with us! Pinning.
Thank you, Beverly!
I love this idea! Love the colours you chose! Hours of fun right there!
Thank you so much for sharing your fun game with us over at Waste Not Wednesday!
Thanks Sam!
So very cute. Thanks for sharing it with us at the Waste Not Wednesday link party. Looking forward to seeing more of your creativity next week.
Thank you for hosting such a fun and inspiring link party!