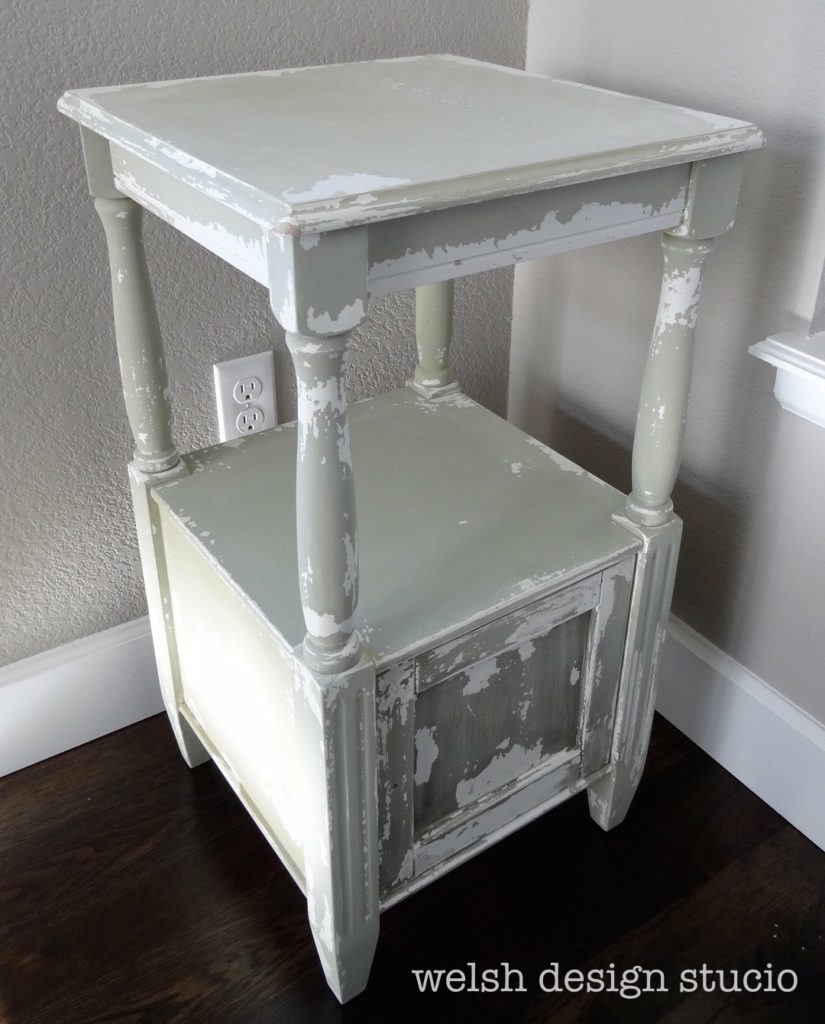
A while back I tried milk paint for the first time, and the results were less than awesome. In fact, I’d call my first attempt an epic fail. You can read about my mishaps at Milk Paint Makeover – Part 1 and Milk Paint Makeover – Part II. This is where I left off with my poor, ugly nightstand….
After shedding a few “feeling sorry for myself” tears, I re-sanded down all of the chipped areas, ordered some more milk paint, and purchased the Miss Mustard Seed’s Bonding Agent.
Tip for Readers: Always use the bonding agent with milk paint, so that you control the distressing process!
Re-painting the Nightstand
So, here is how things went down.
- I mixed the bonding agent and the paint together per the instructions. It ended up being really runny, which in hindsight I could have fixed by adding in more powdered milk paint, but I just let it slide. That made for a lot of extra coats because the paint was really thin. So, if you use the bonding agent, I recommend thickening up the paint a little more to save you a little time.
- I painted, and the paint actually stuck! It took many coats (5 or 6), because the paint was so thin, and a little light sanding between coats, but in the end I had a completely painted nightstand. Hooray!
- I did a little distressing, but I’ll admit I was a bit shy about it. I just wanted to be done with it, you know? And, I kept having thoughts of messing up the distressing and having to start over again. No thank you!
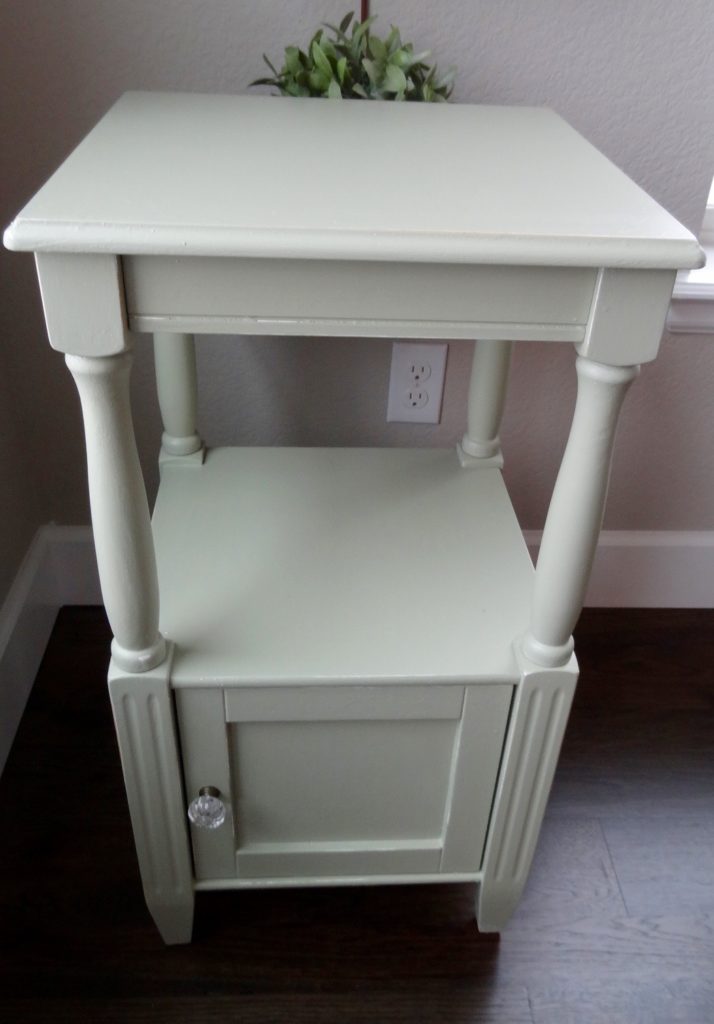
After
So, here is the finished product in the guest room. I like the way the nightstand turned out, and the color is really nice. The bubble on the top is completely gone! The guest room is still a work in progress, so I think once I have it all done and painted, the nightstand is going to work perfectly.
Well, I hope you can learn from my experience with milk paint, and hopefully these posts will save you some headaches. Let me know if you give it a try, or if you are a seasoned pro with milk paint, please share your best tips.


Leave A Comment